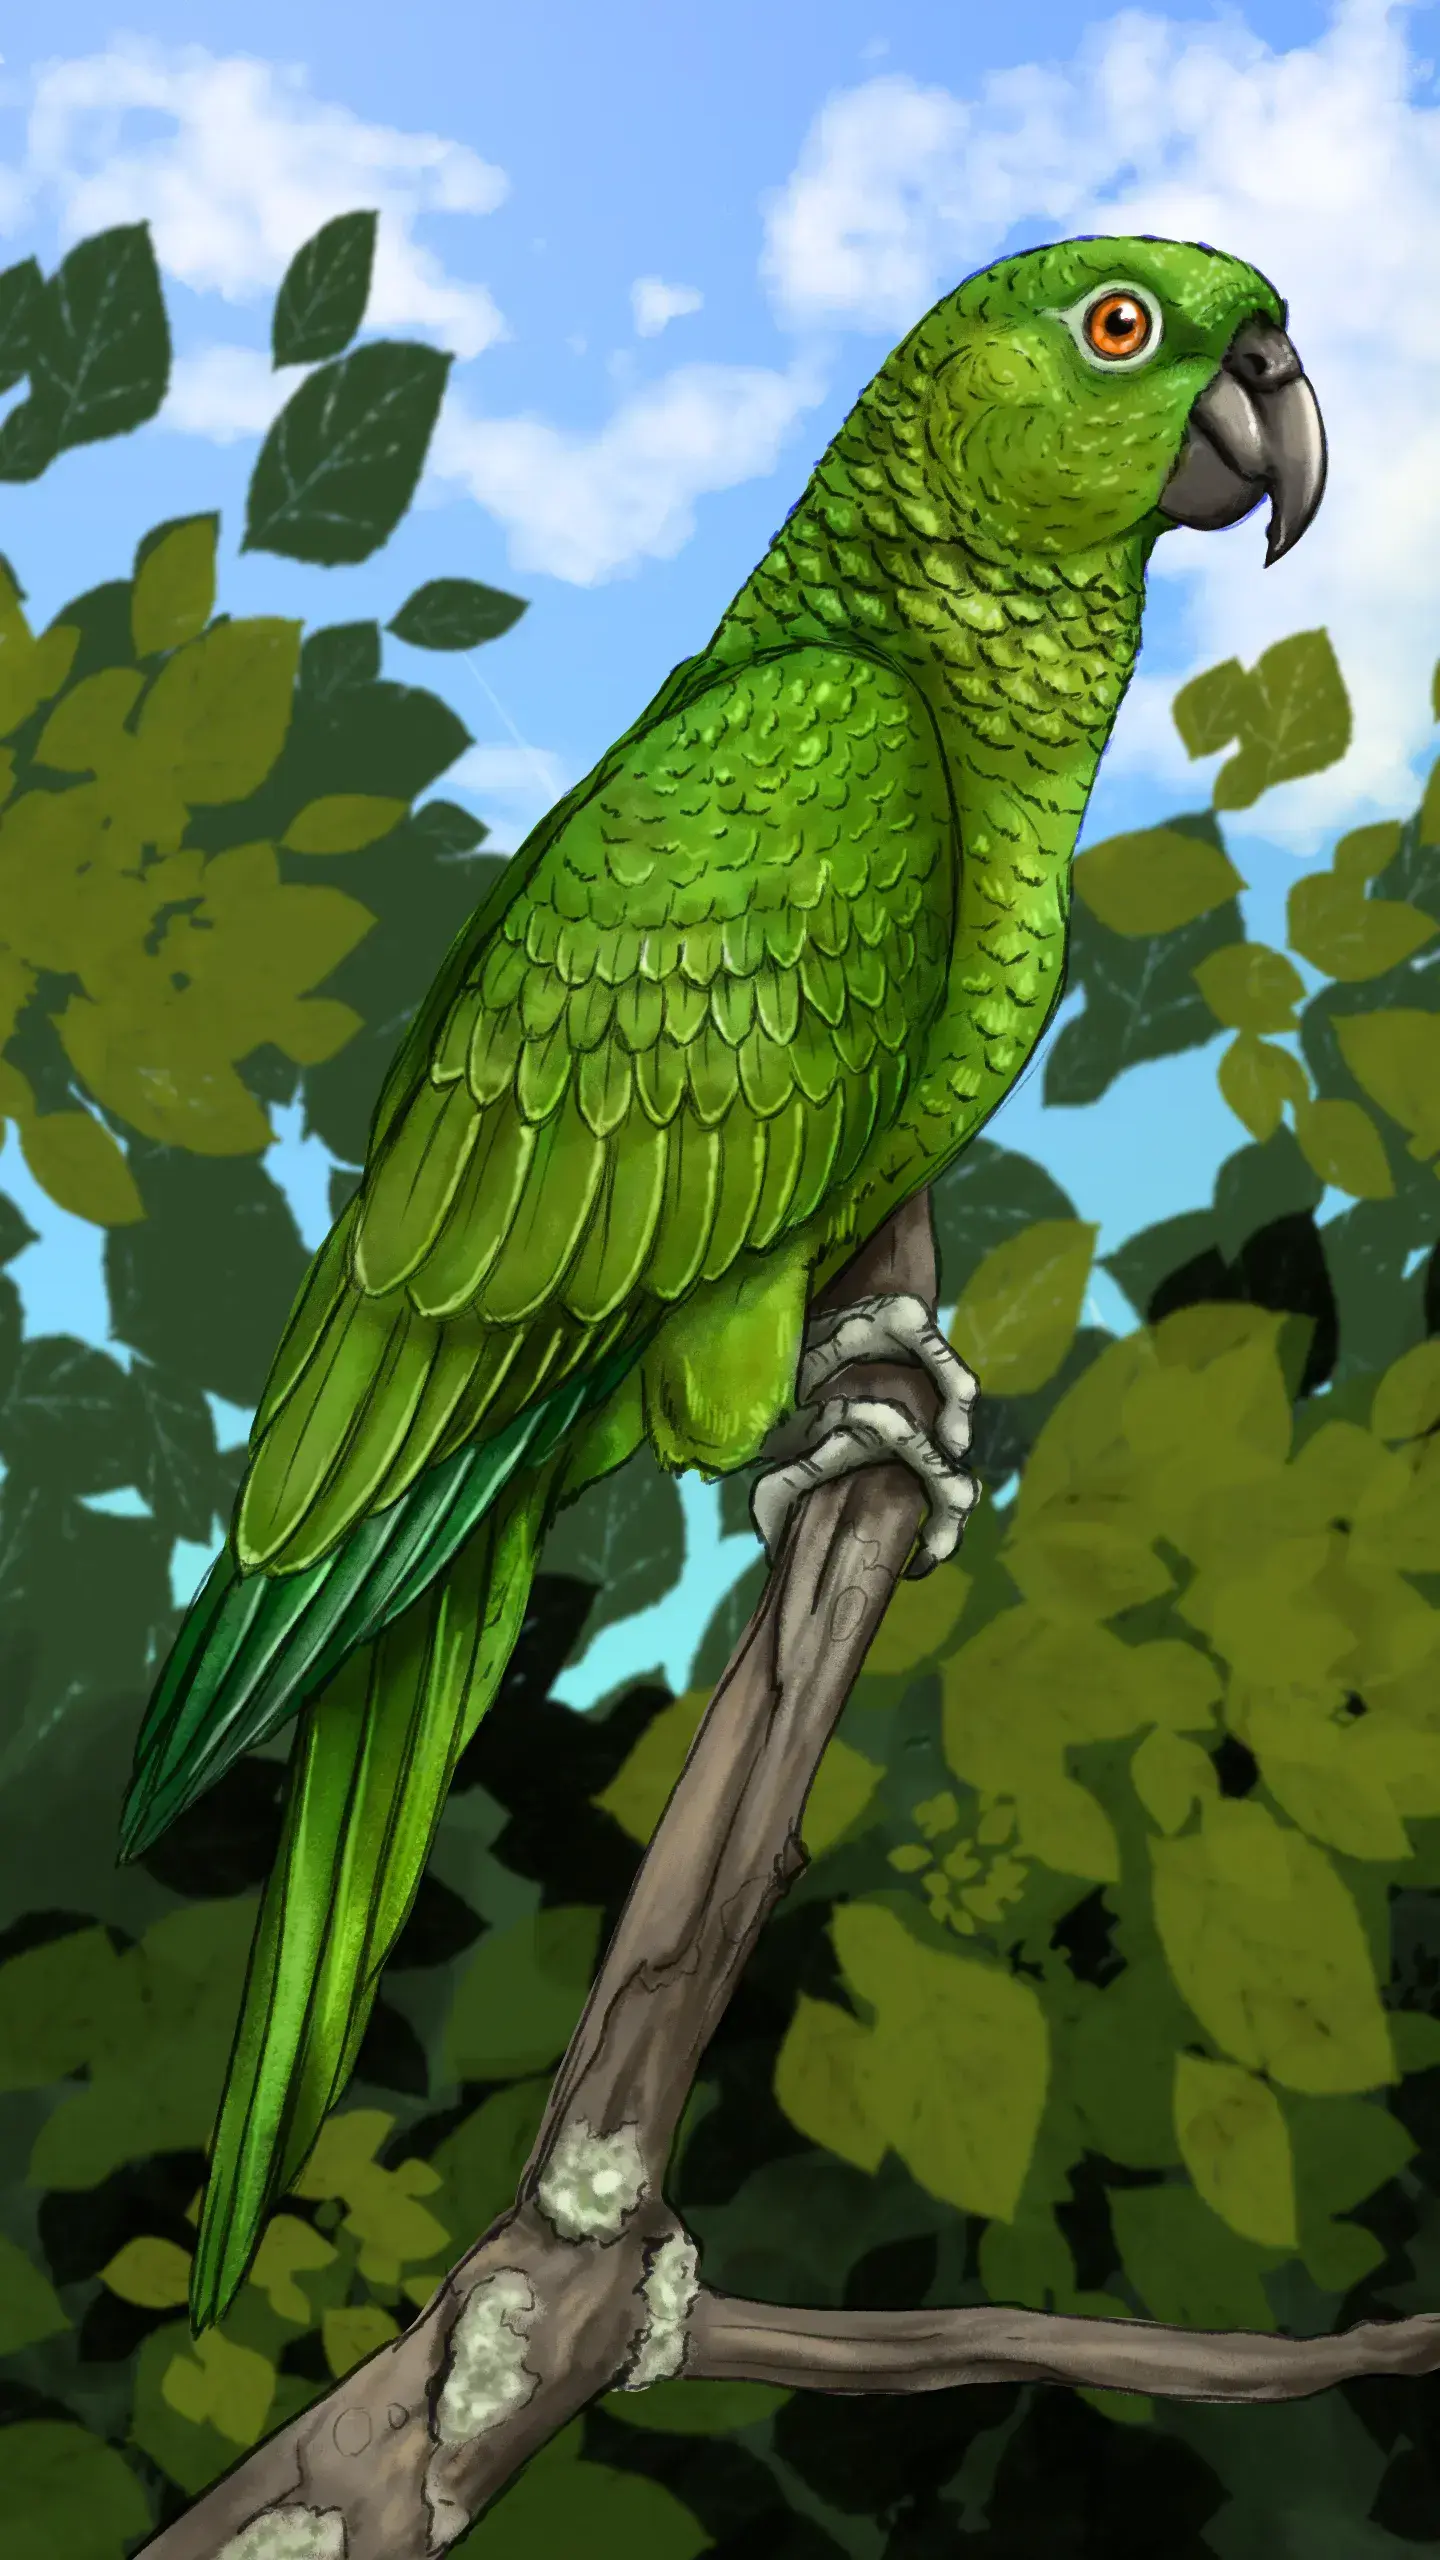
How to Draw a Parrot
Birds are a wonderful example of diversity. Their variety of colors, patterns, shapes, and sizes make their study an extremely broad range of possibilities. Added to this are specimens with very specific qualities, such as the parrot, which is capable of imitating the sound of words.
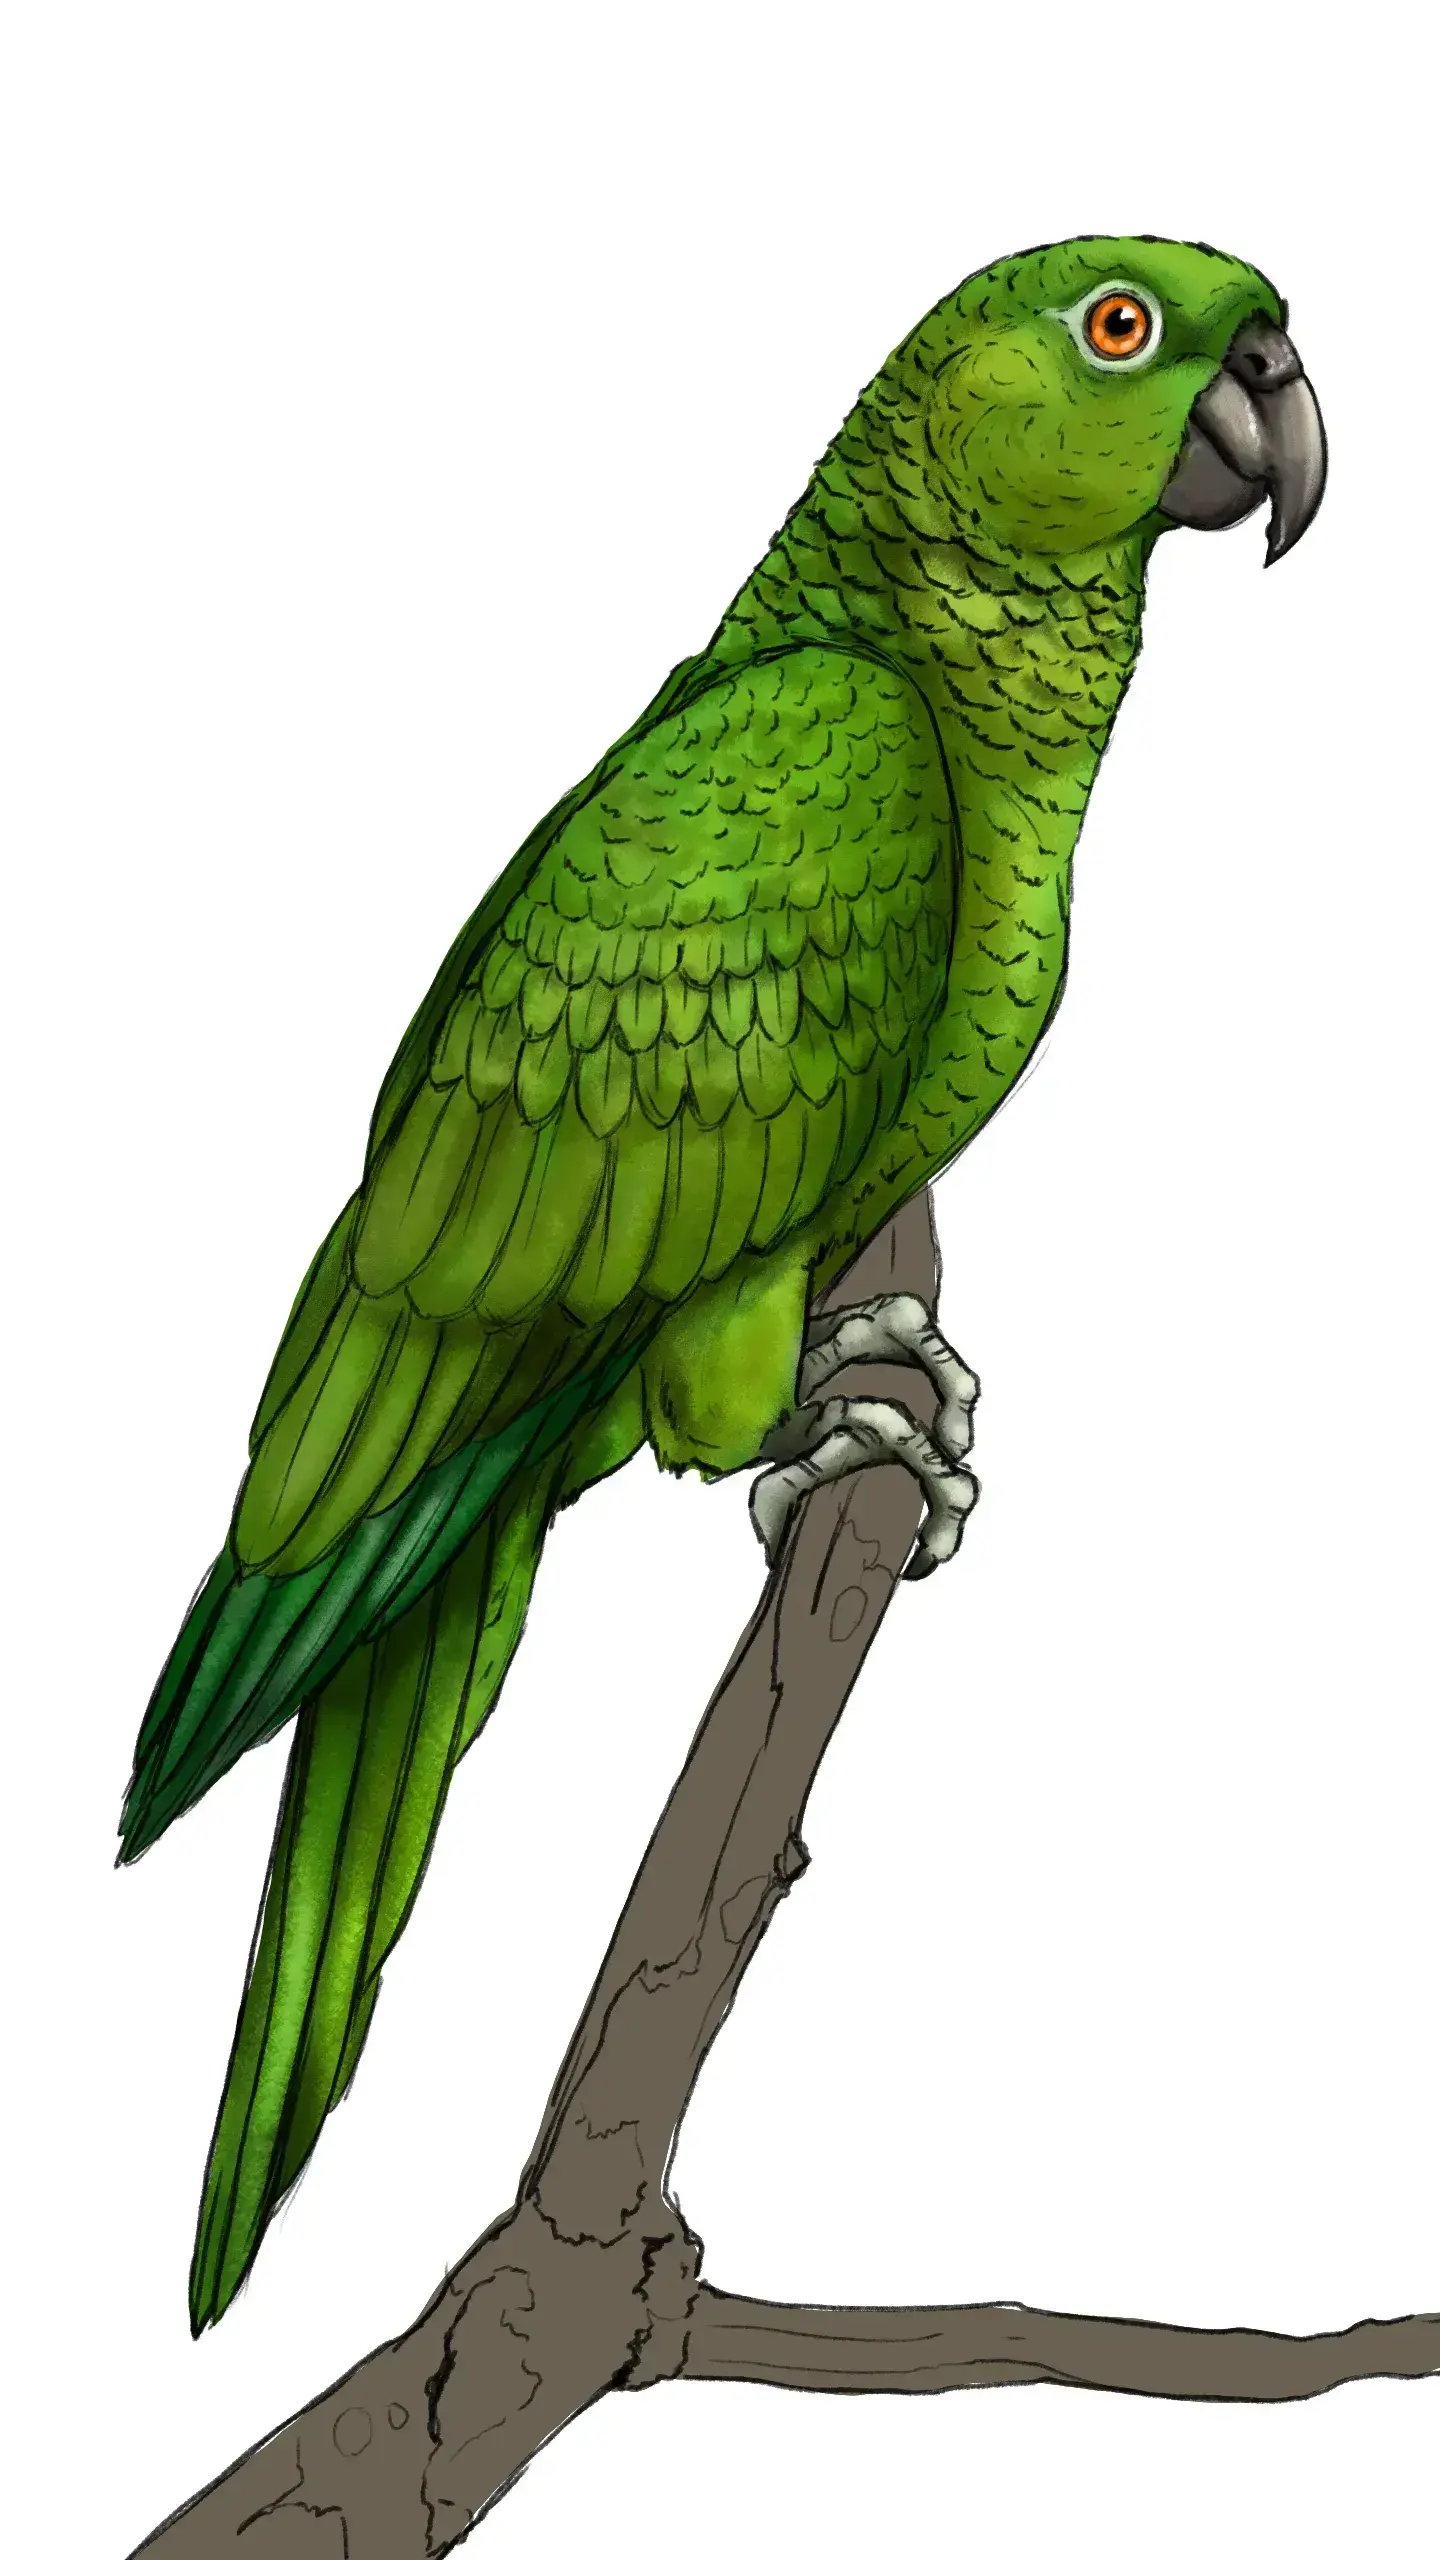
Hello! Welcome to this new article, where we will take on the challenge of depicting a parrot with colorful plumage as well as personality.
Anatomy of a parrot
We are dealing with a bird capable of flying, which means it has large long feathers on its wings and tail, adorned with intense colors that highlight its tropical nature. Another trait immediately catches the eye and distinguishes it from other birds: its large, hook-shaped beak.
I would like us to now pay attention to its plumage, as it contains many tones which coexist harmoniously. Also carefully observe its texture: there are small fans made up of fine strands that overlap each other.
How to draw a parrot step by step
Now that we understand the shape and key features of this specimen, it's time to move on to paper. Prepare your drawing materials, and let's start the tutorial.
Draw the outline sketch
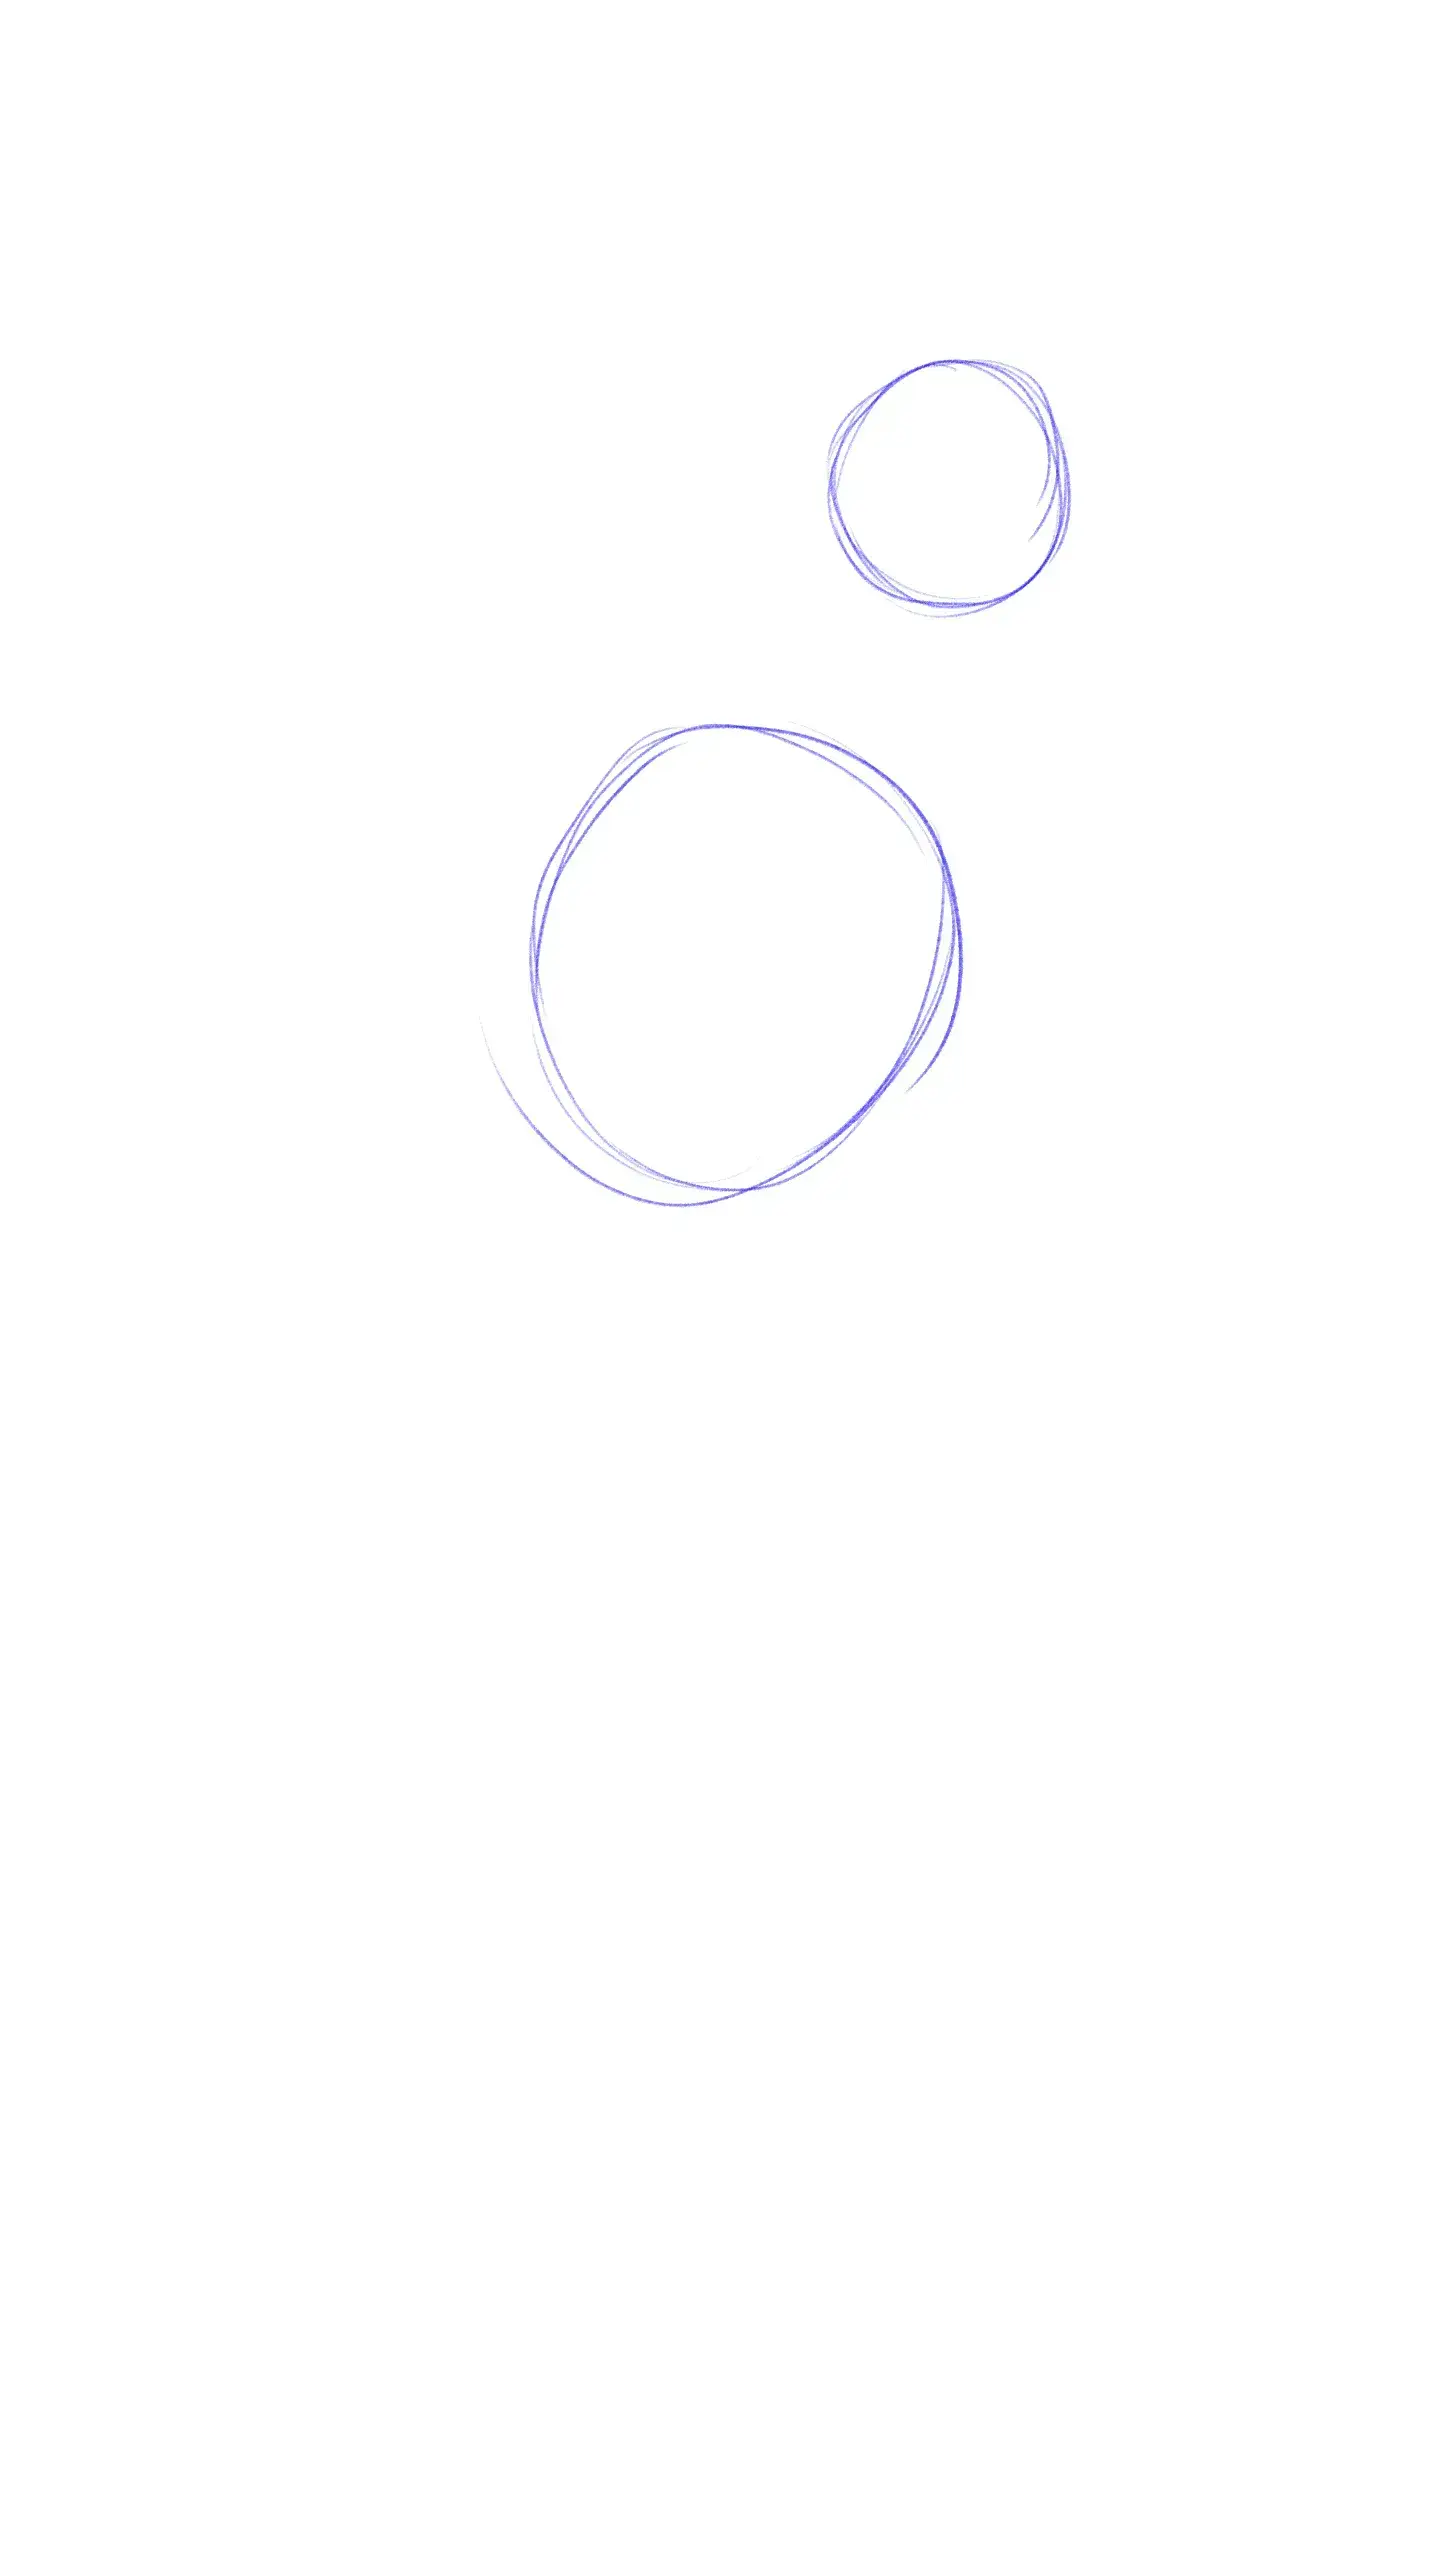
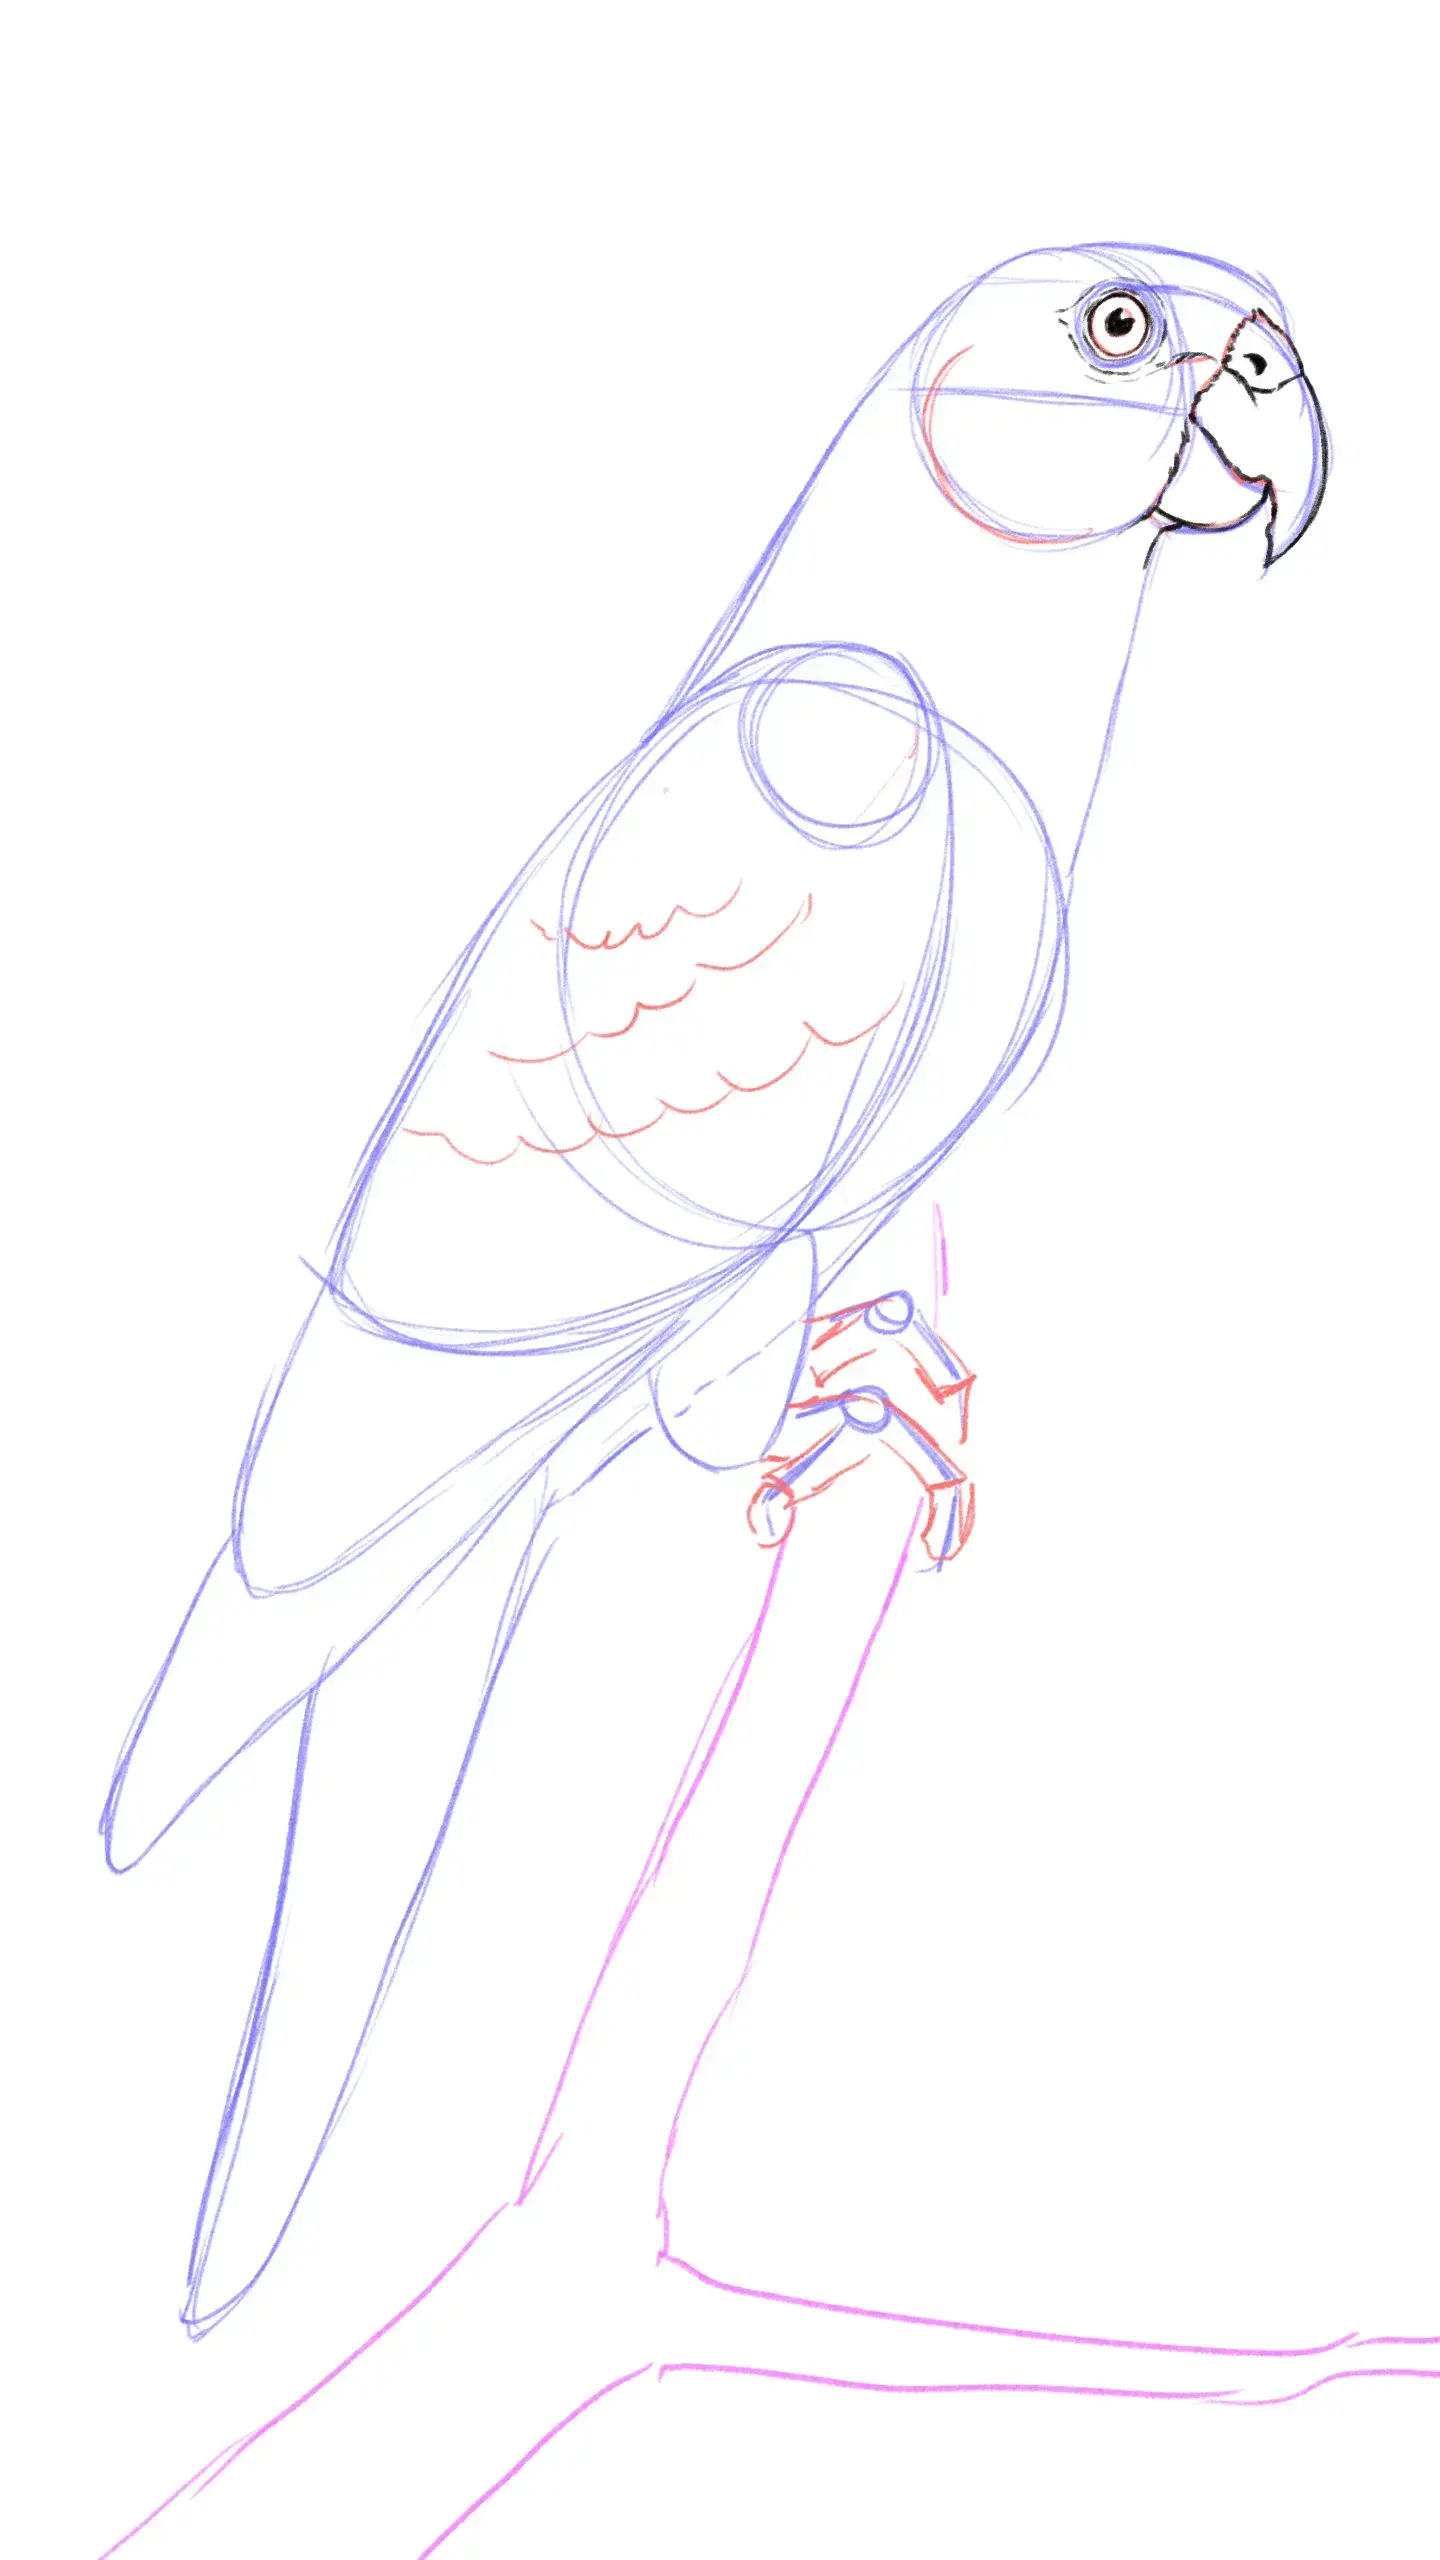
Let's start with two circles arranged diagonally, with significantly different sizes: the upper circle is much smaller than the other. From this base, we will then place the head and torso of our bird.
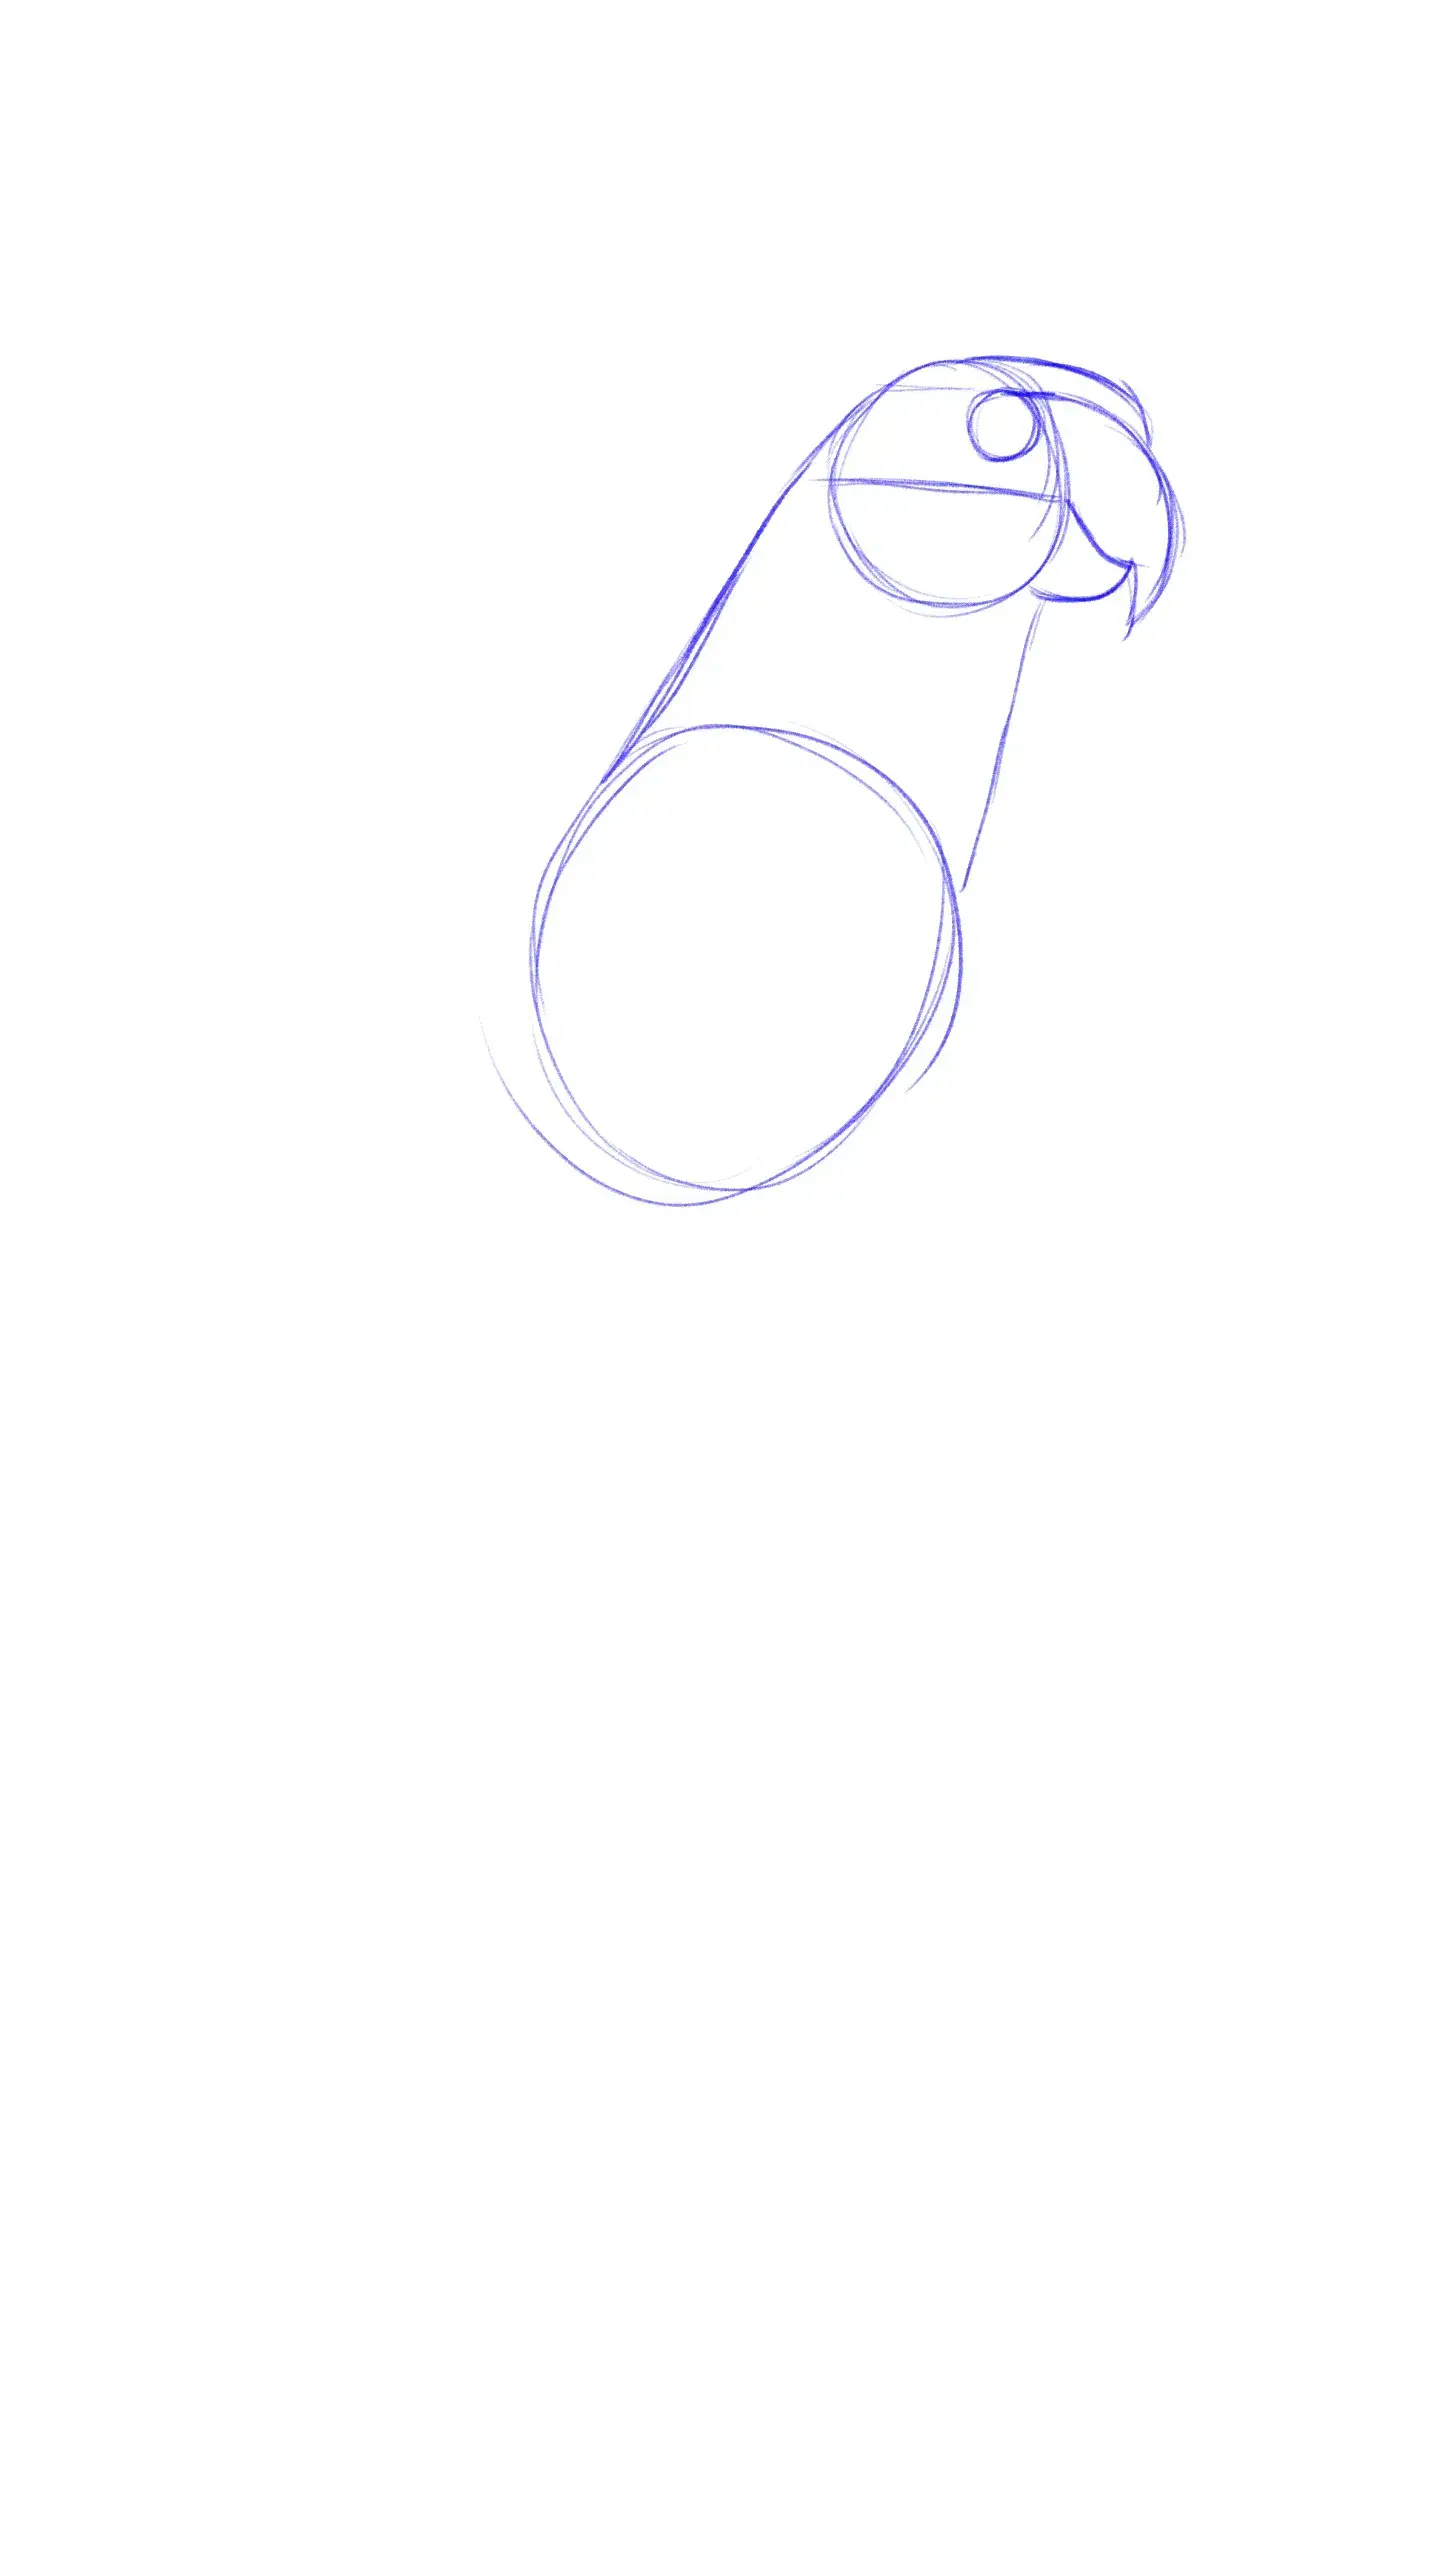
In the upper circle, we can place the facial features in the following manner: position an eye at the top, touching the edge.
From this point, project a curved beak down to the base of the circle, using half of the circle to define the opening of the beak. Then connect the remaining part of the circle to the beak with a small shape or bump. You can then join the head to the torso with a thick neck.
We now need to identify where the wing starts. Although it resembles a shoulder, anatomically it is closer to the wrist.
Draw a small circle, then add a first section whose length is double that of the base circle. Then add two additional sections, each shorter and thinner than the previous one.
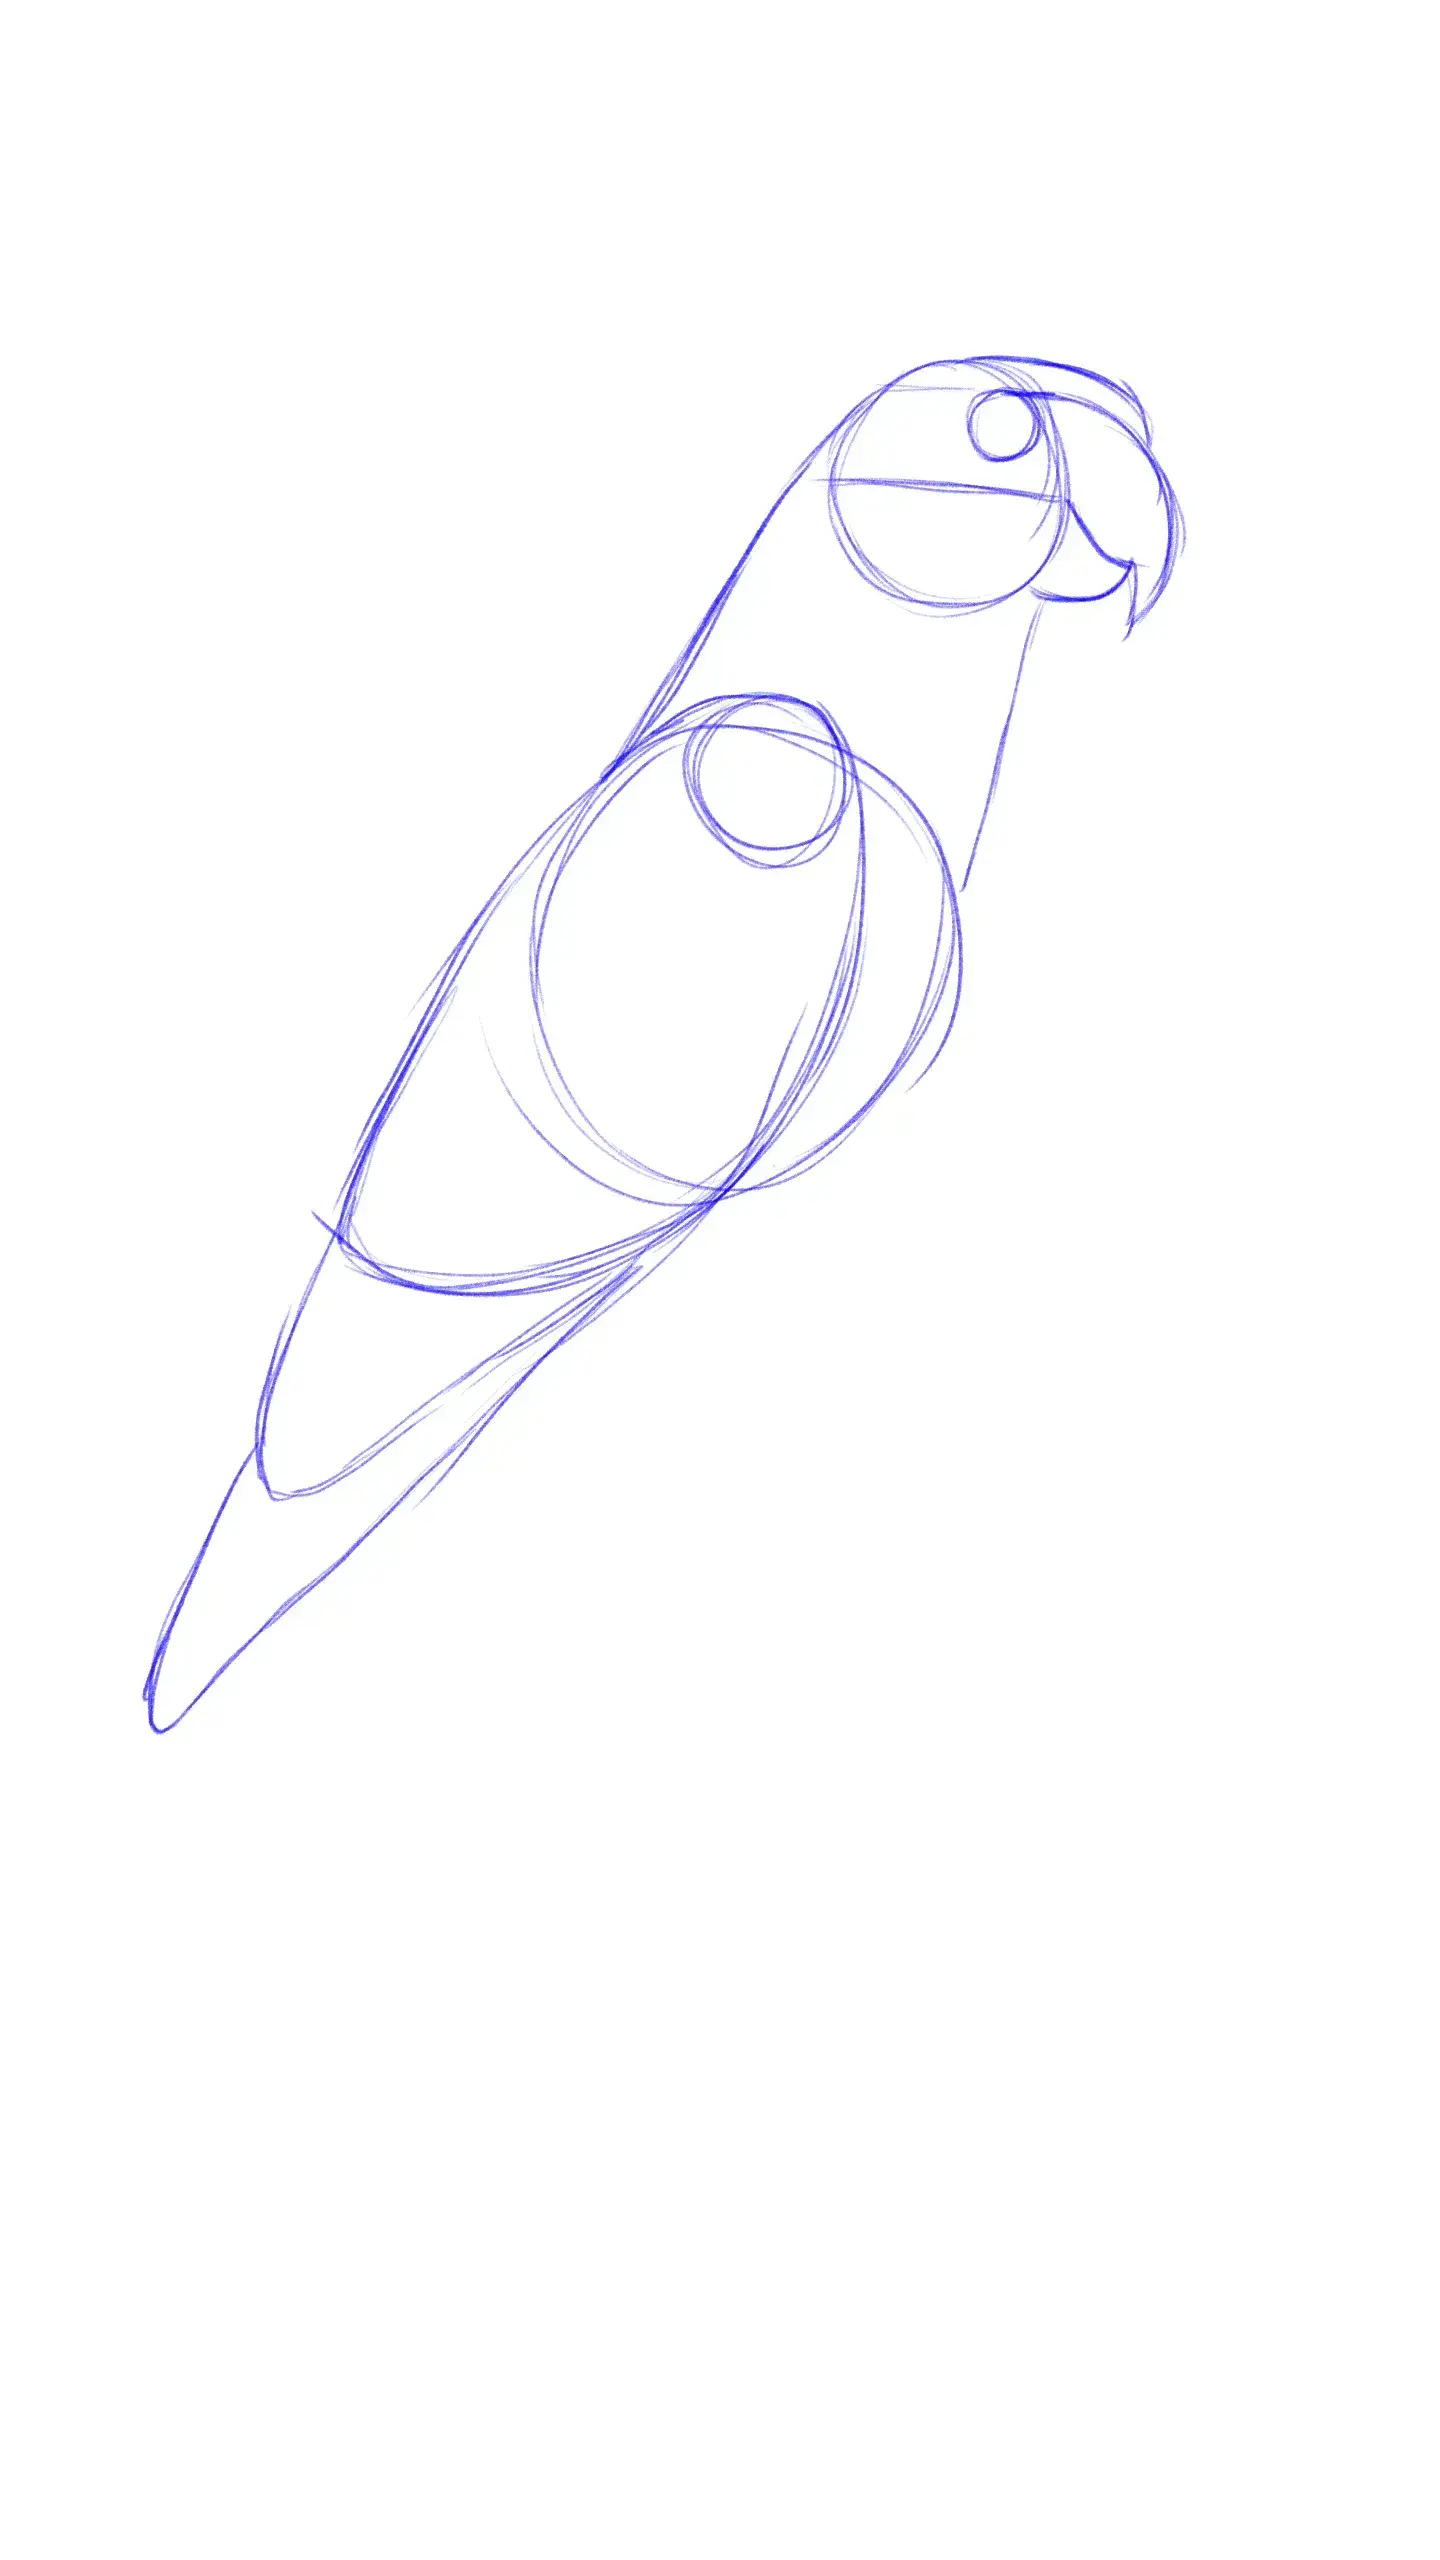
You can now place elements such as legs, which are found just on the lower outline of the circle. Also add the tail, whose length is about the distance between the tip of the wing and the outline of the base circle.

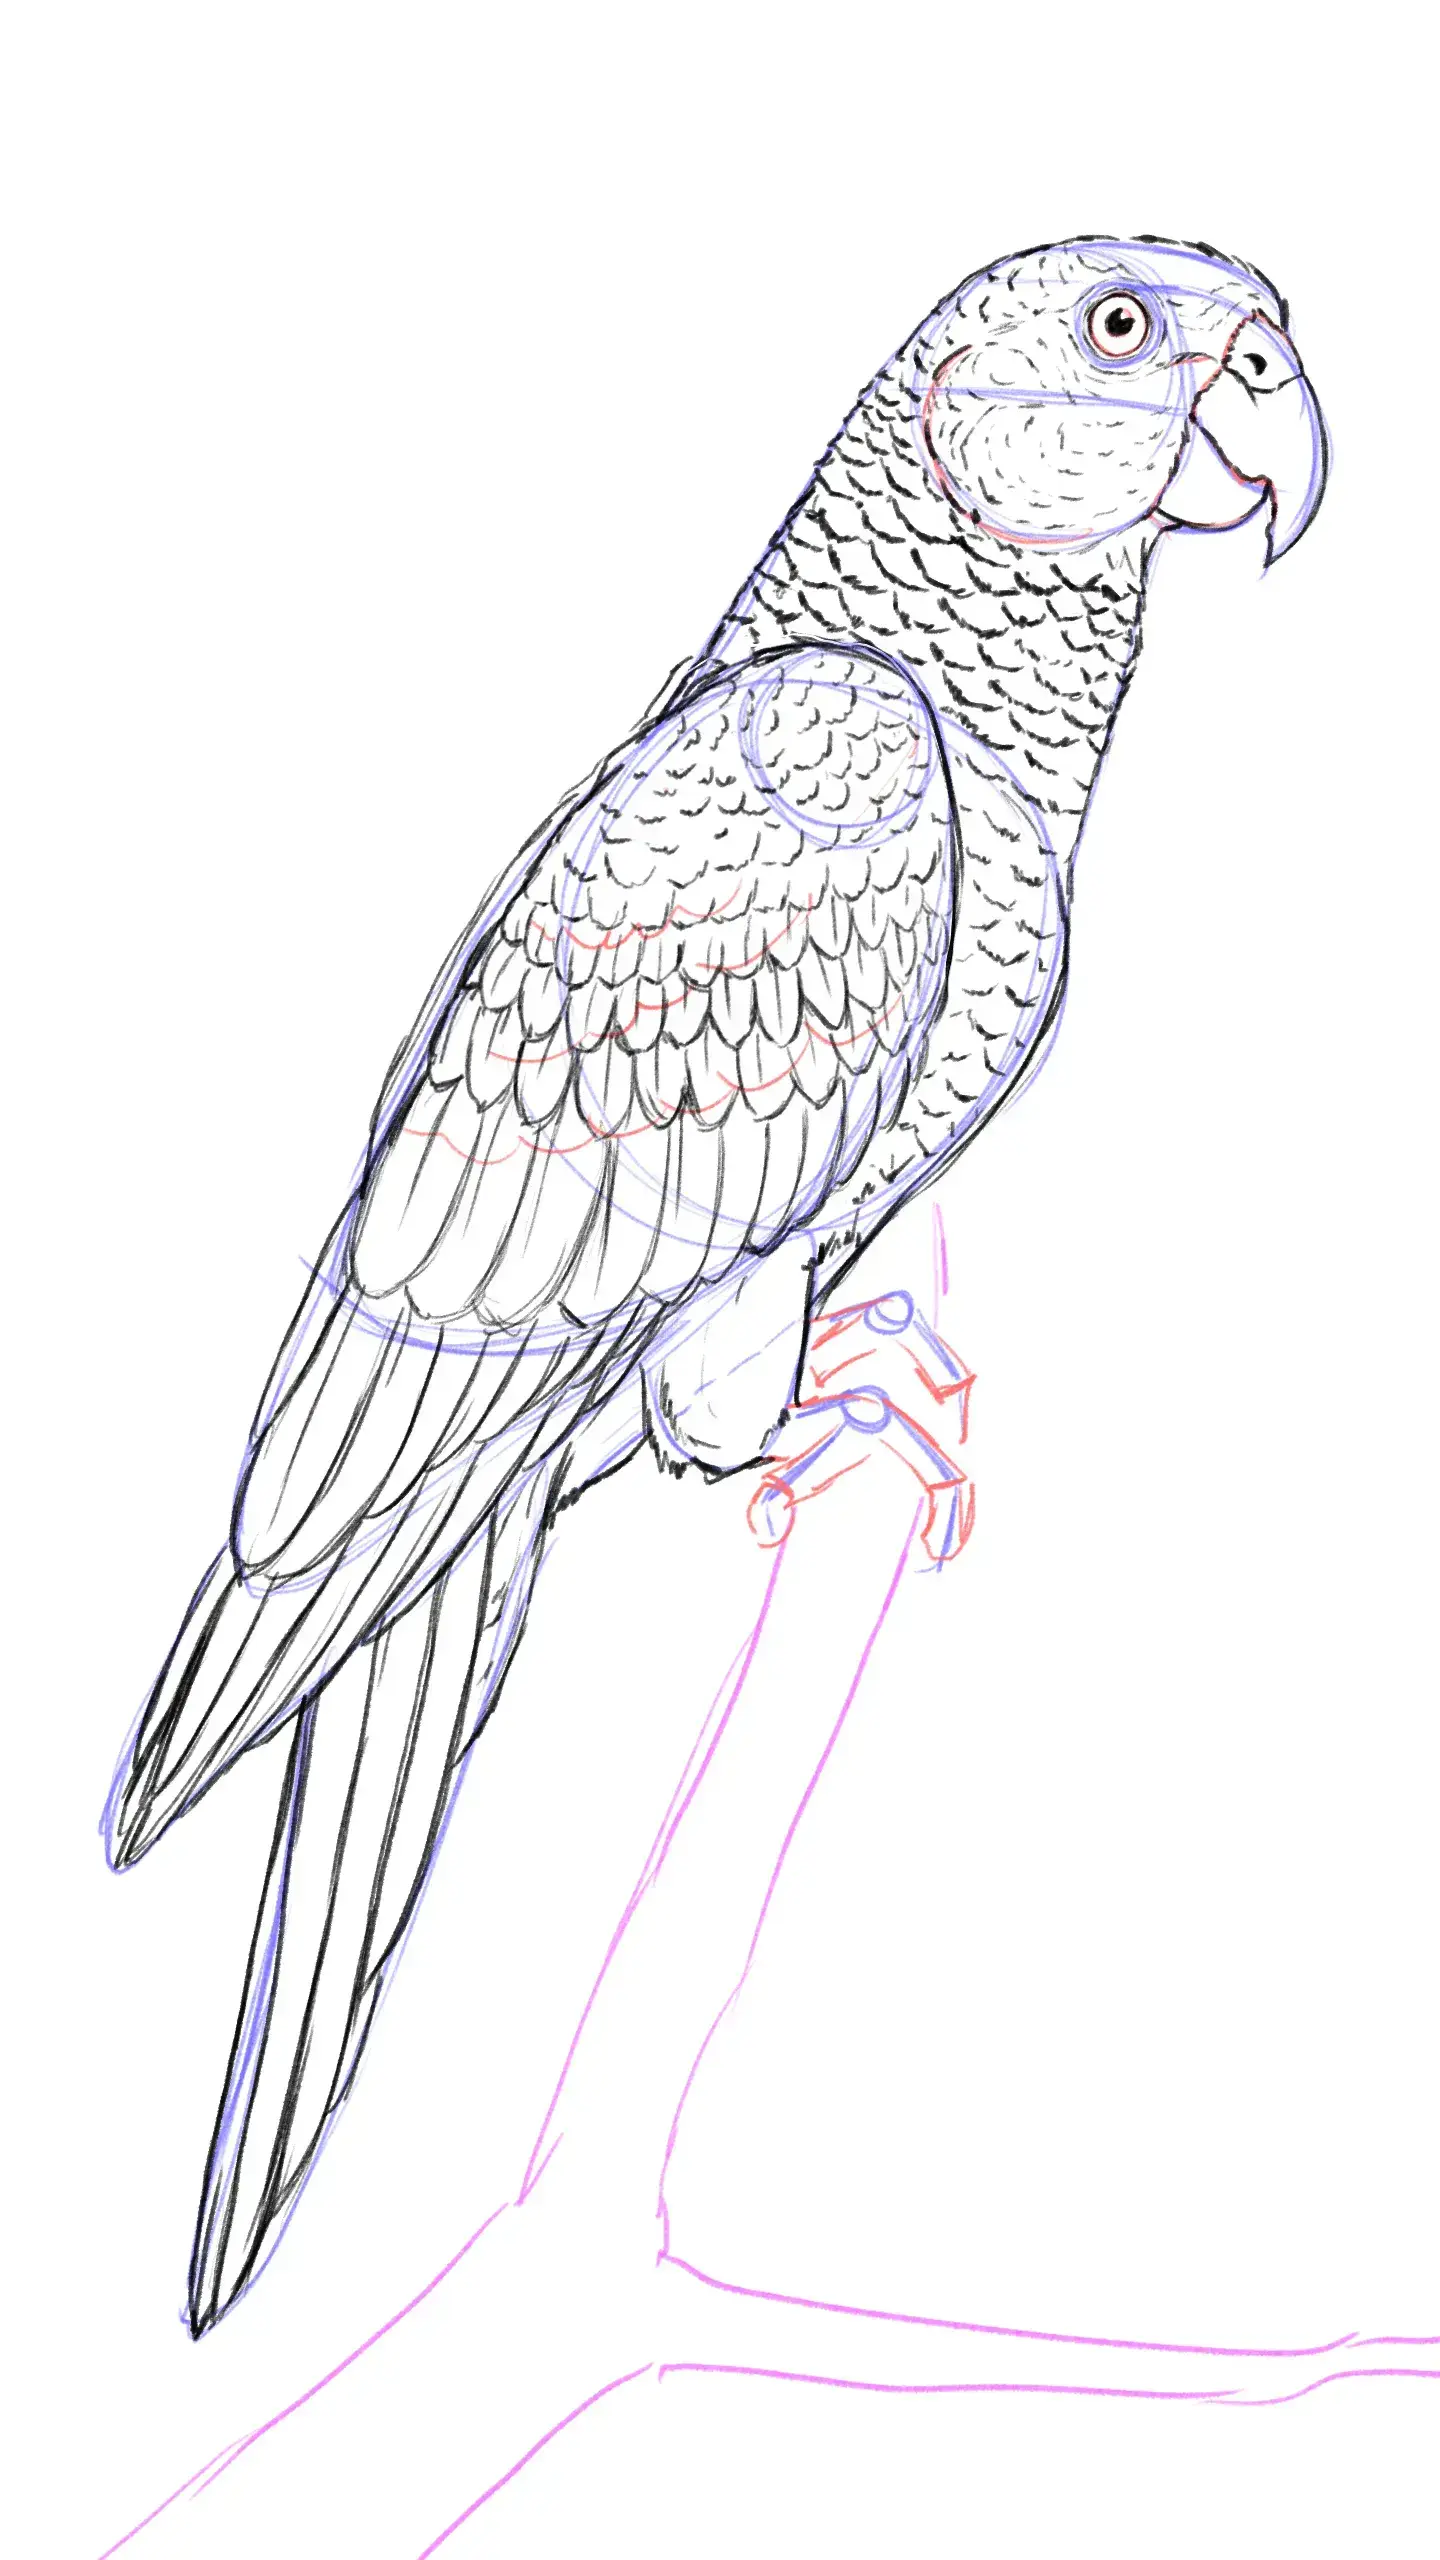
We are coming to the point when we will outline the final drawing. I suggest a simple diagram showing the main shapes, which will help us place the most defined features of our model.
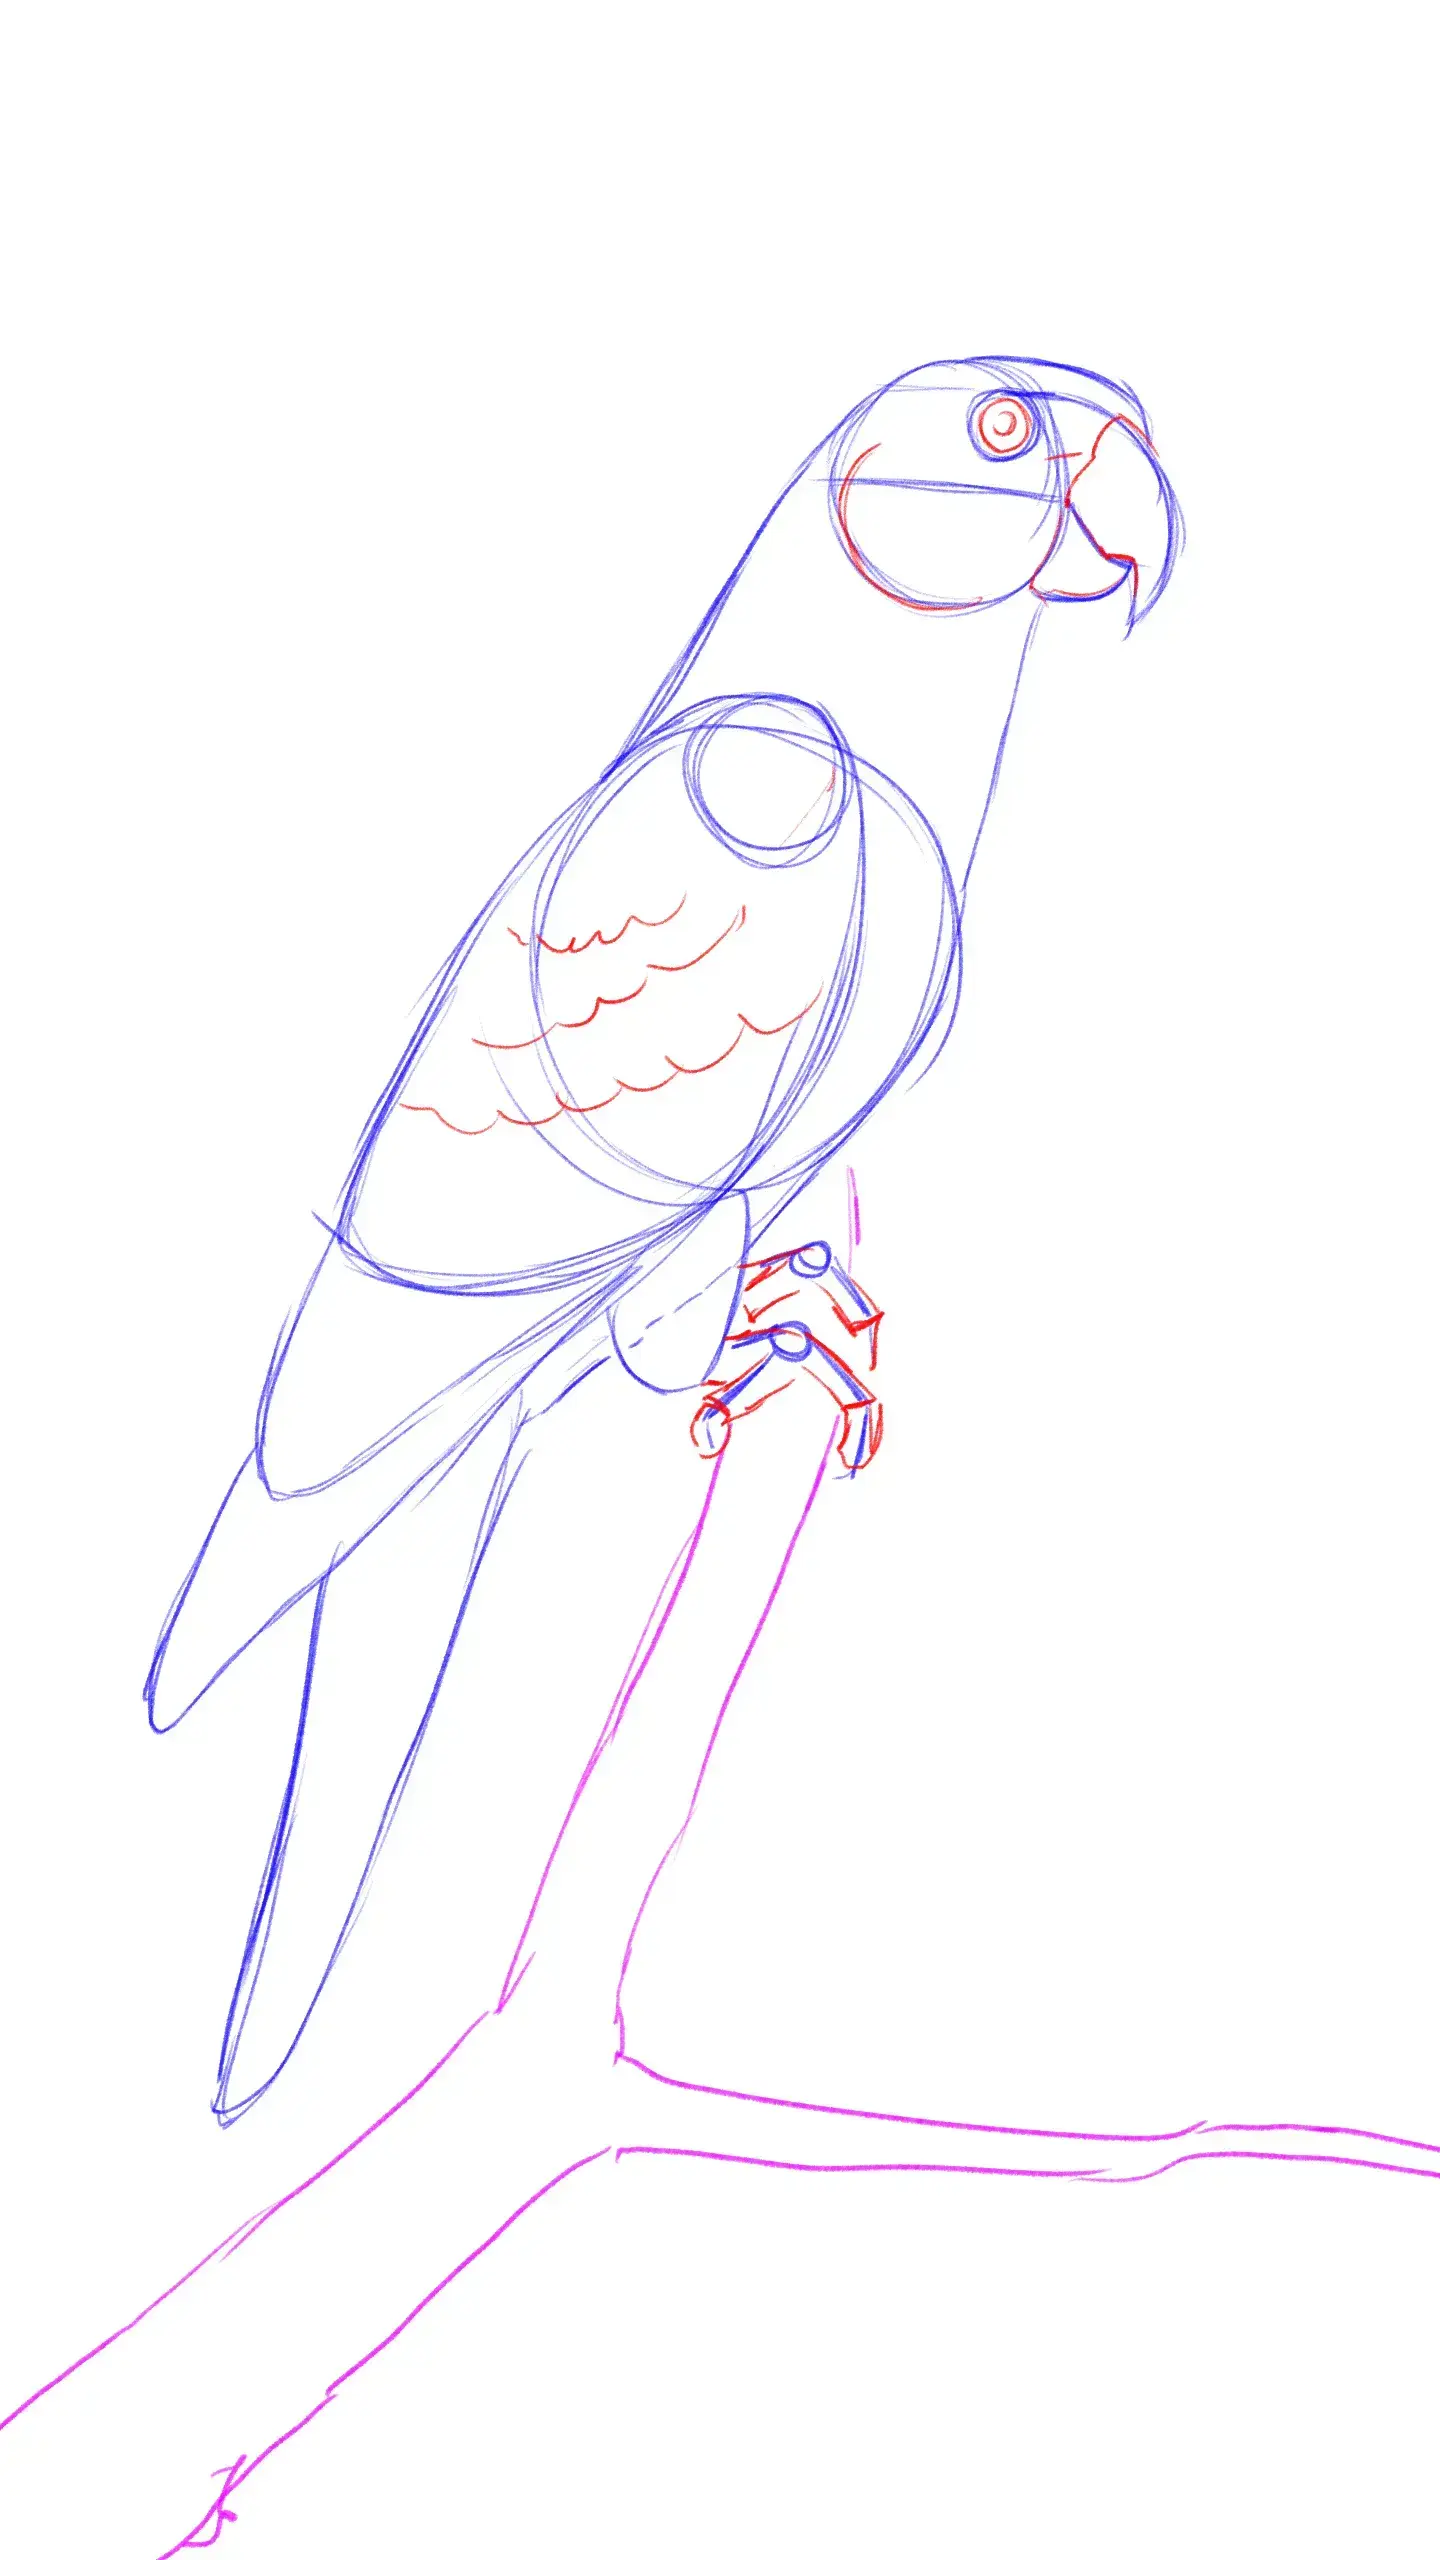
The beak is undoubtedly an iconic feature that differentiates the parrot from other equally exotic tropical birds. Therefore, draw its curve following the diagram, but make irregular lines on the inner part to show a worn and fragmented beak.
Draw the parrot's feathers
We start with an alternating pattern, made up of elongated and flat waves. This could easily resemble the scales of a fish. To show the difference, give them a furry texture using very short diagonal lines, with some spaces between them.

The wings contain different types of feathers, creating a varied texture divided into several layers. The principle for drawing them is quite simple: the higher they are, the smaller they are, with an appearance close to an animal's fur. The large feathers with well-defined shapes are found towards the extremities of the wing.
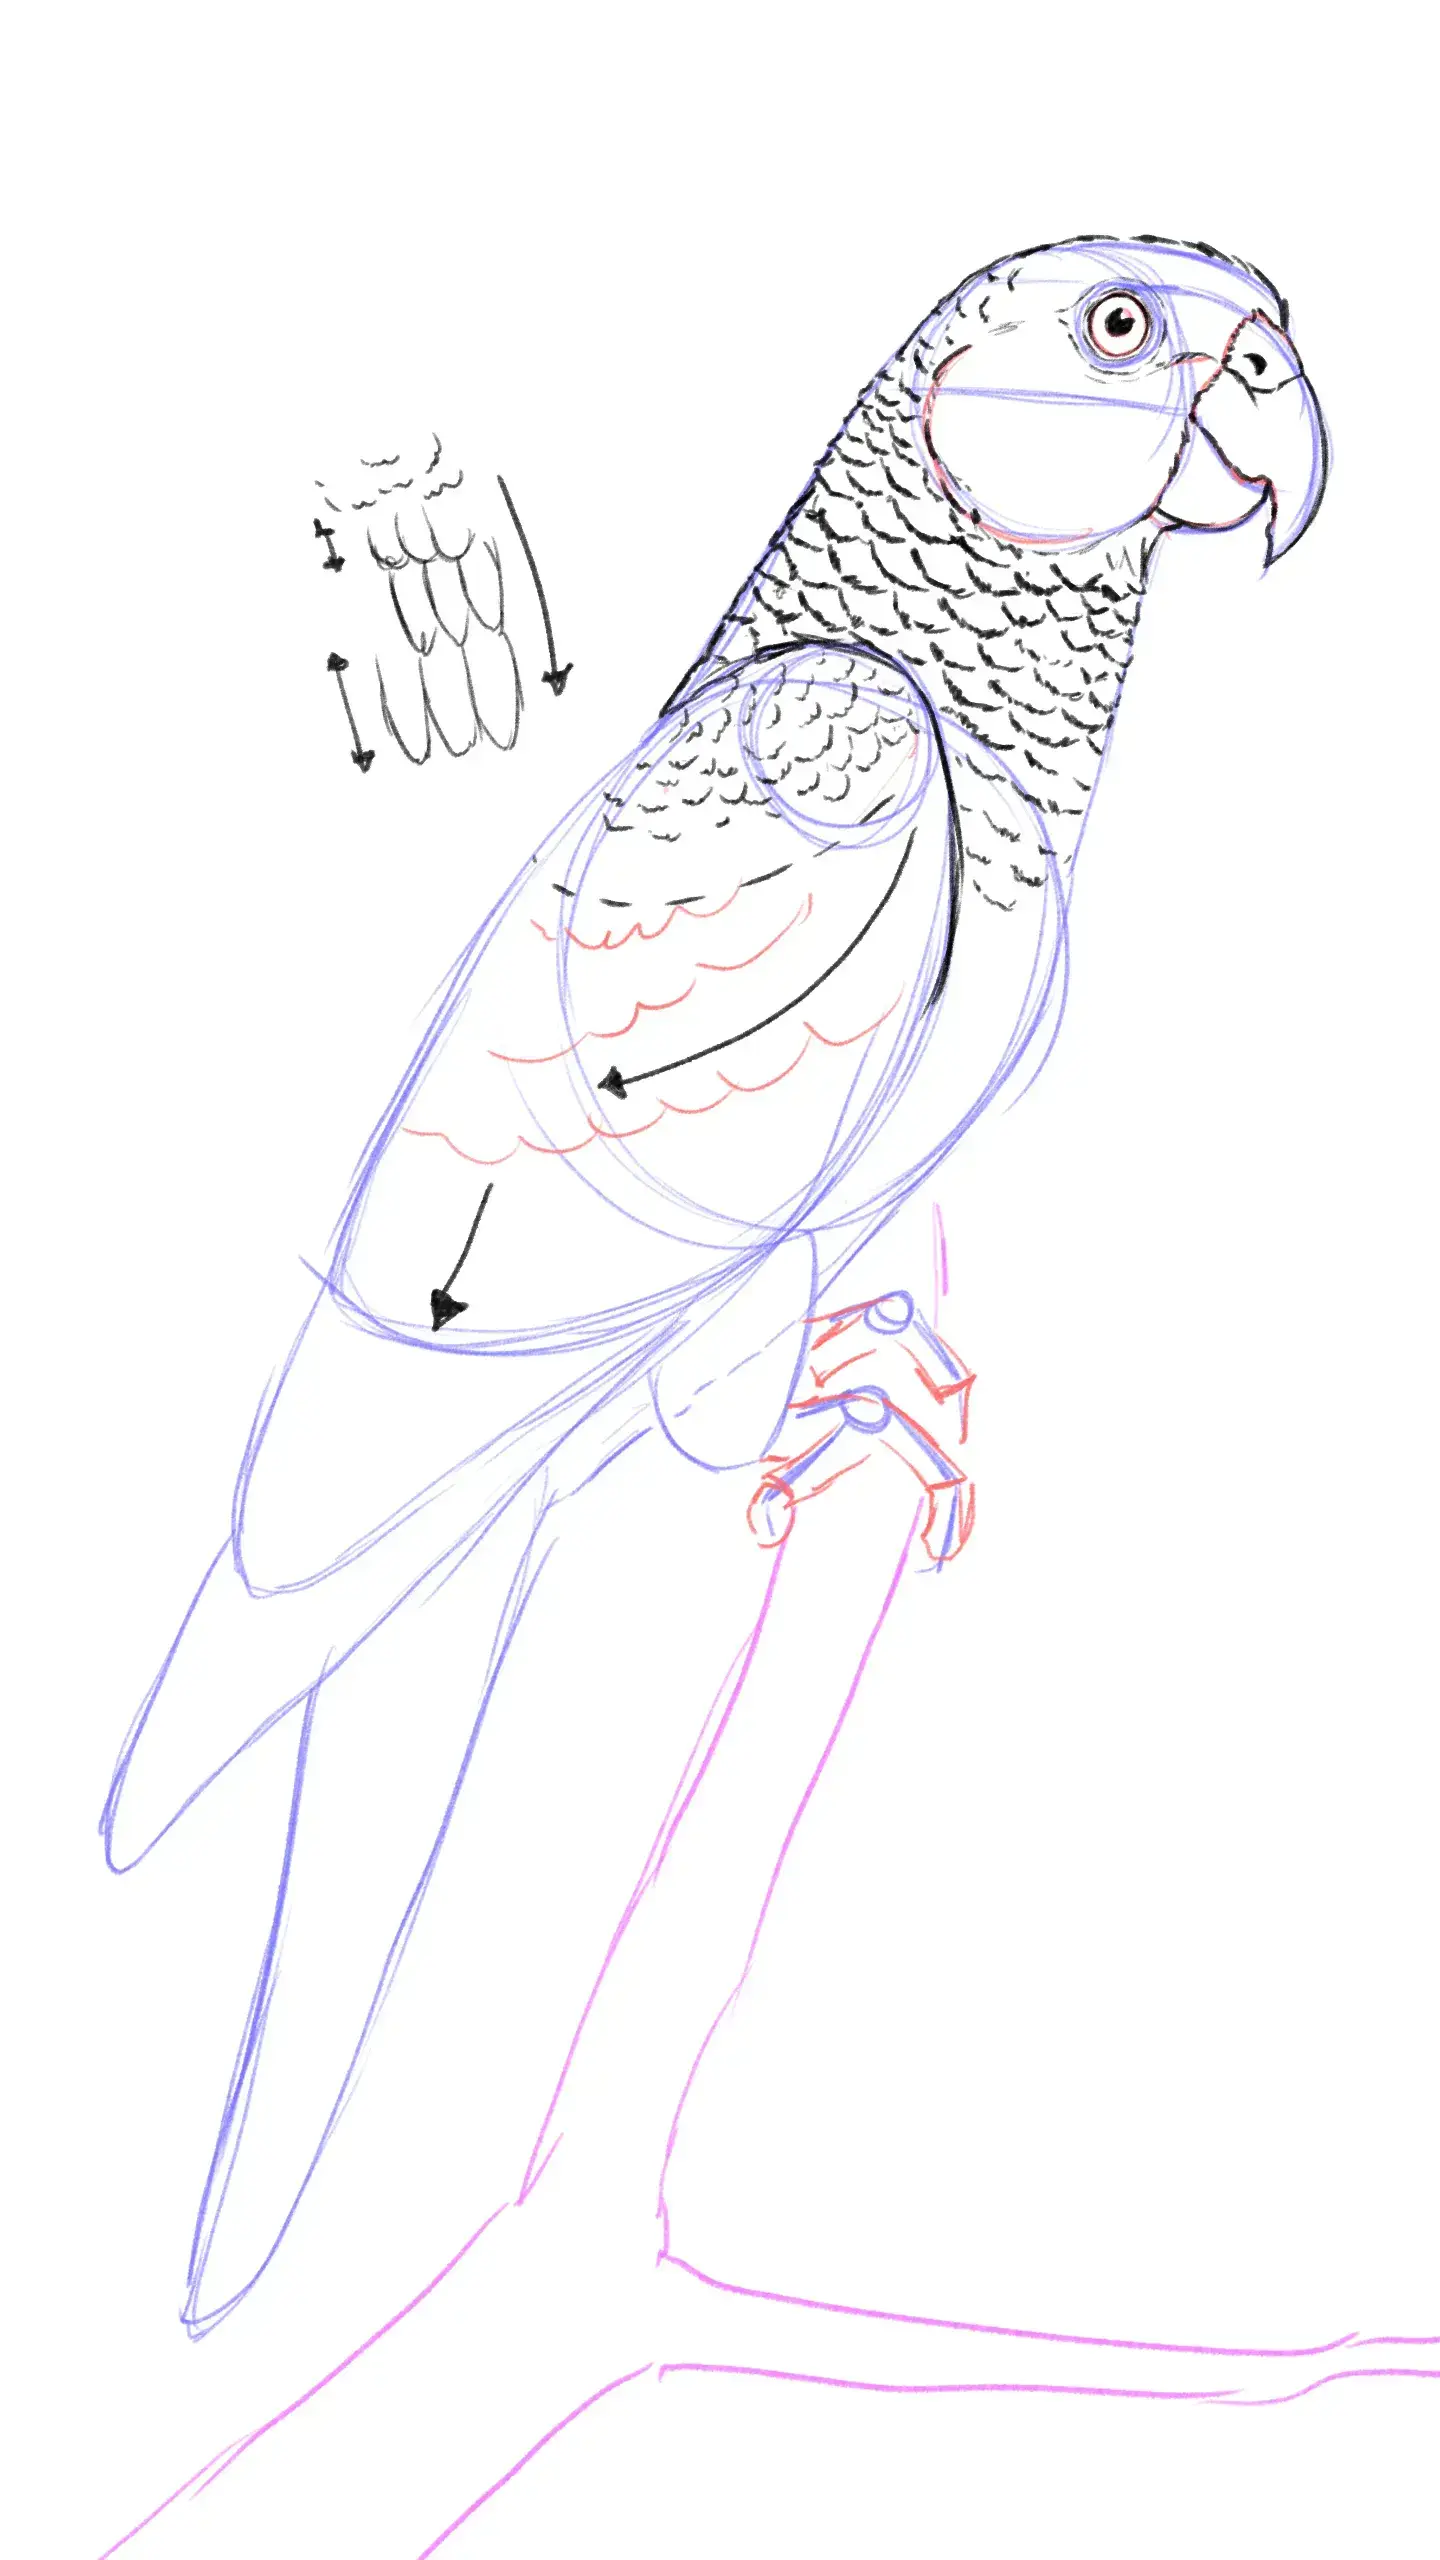
The first layer of feathers consists of small ripples that cover the wing irregularly, giving it a velvety texture. However, you can see as you move down that these feathers gradually organize themselves. In the next layer, they become a row of "U" letters, and eventually form an organized row of small feathers. Use three to four levels for this transition.
The next level contains feathers so large that they cannot be placed side by side in an orderly manner. Instead, they overlap each other, such that one feather covers half of the one immediately before it. There is also a change in scale: the feather closest to the back is the only one that is entirely visible, and it is also the largest of all.

For the following levels, we will use the same principle, but this time with feathers that are finer and more elongated.
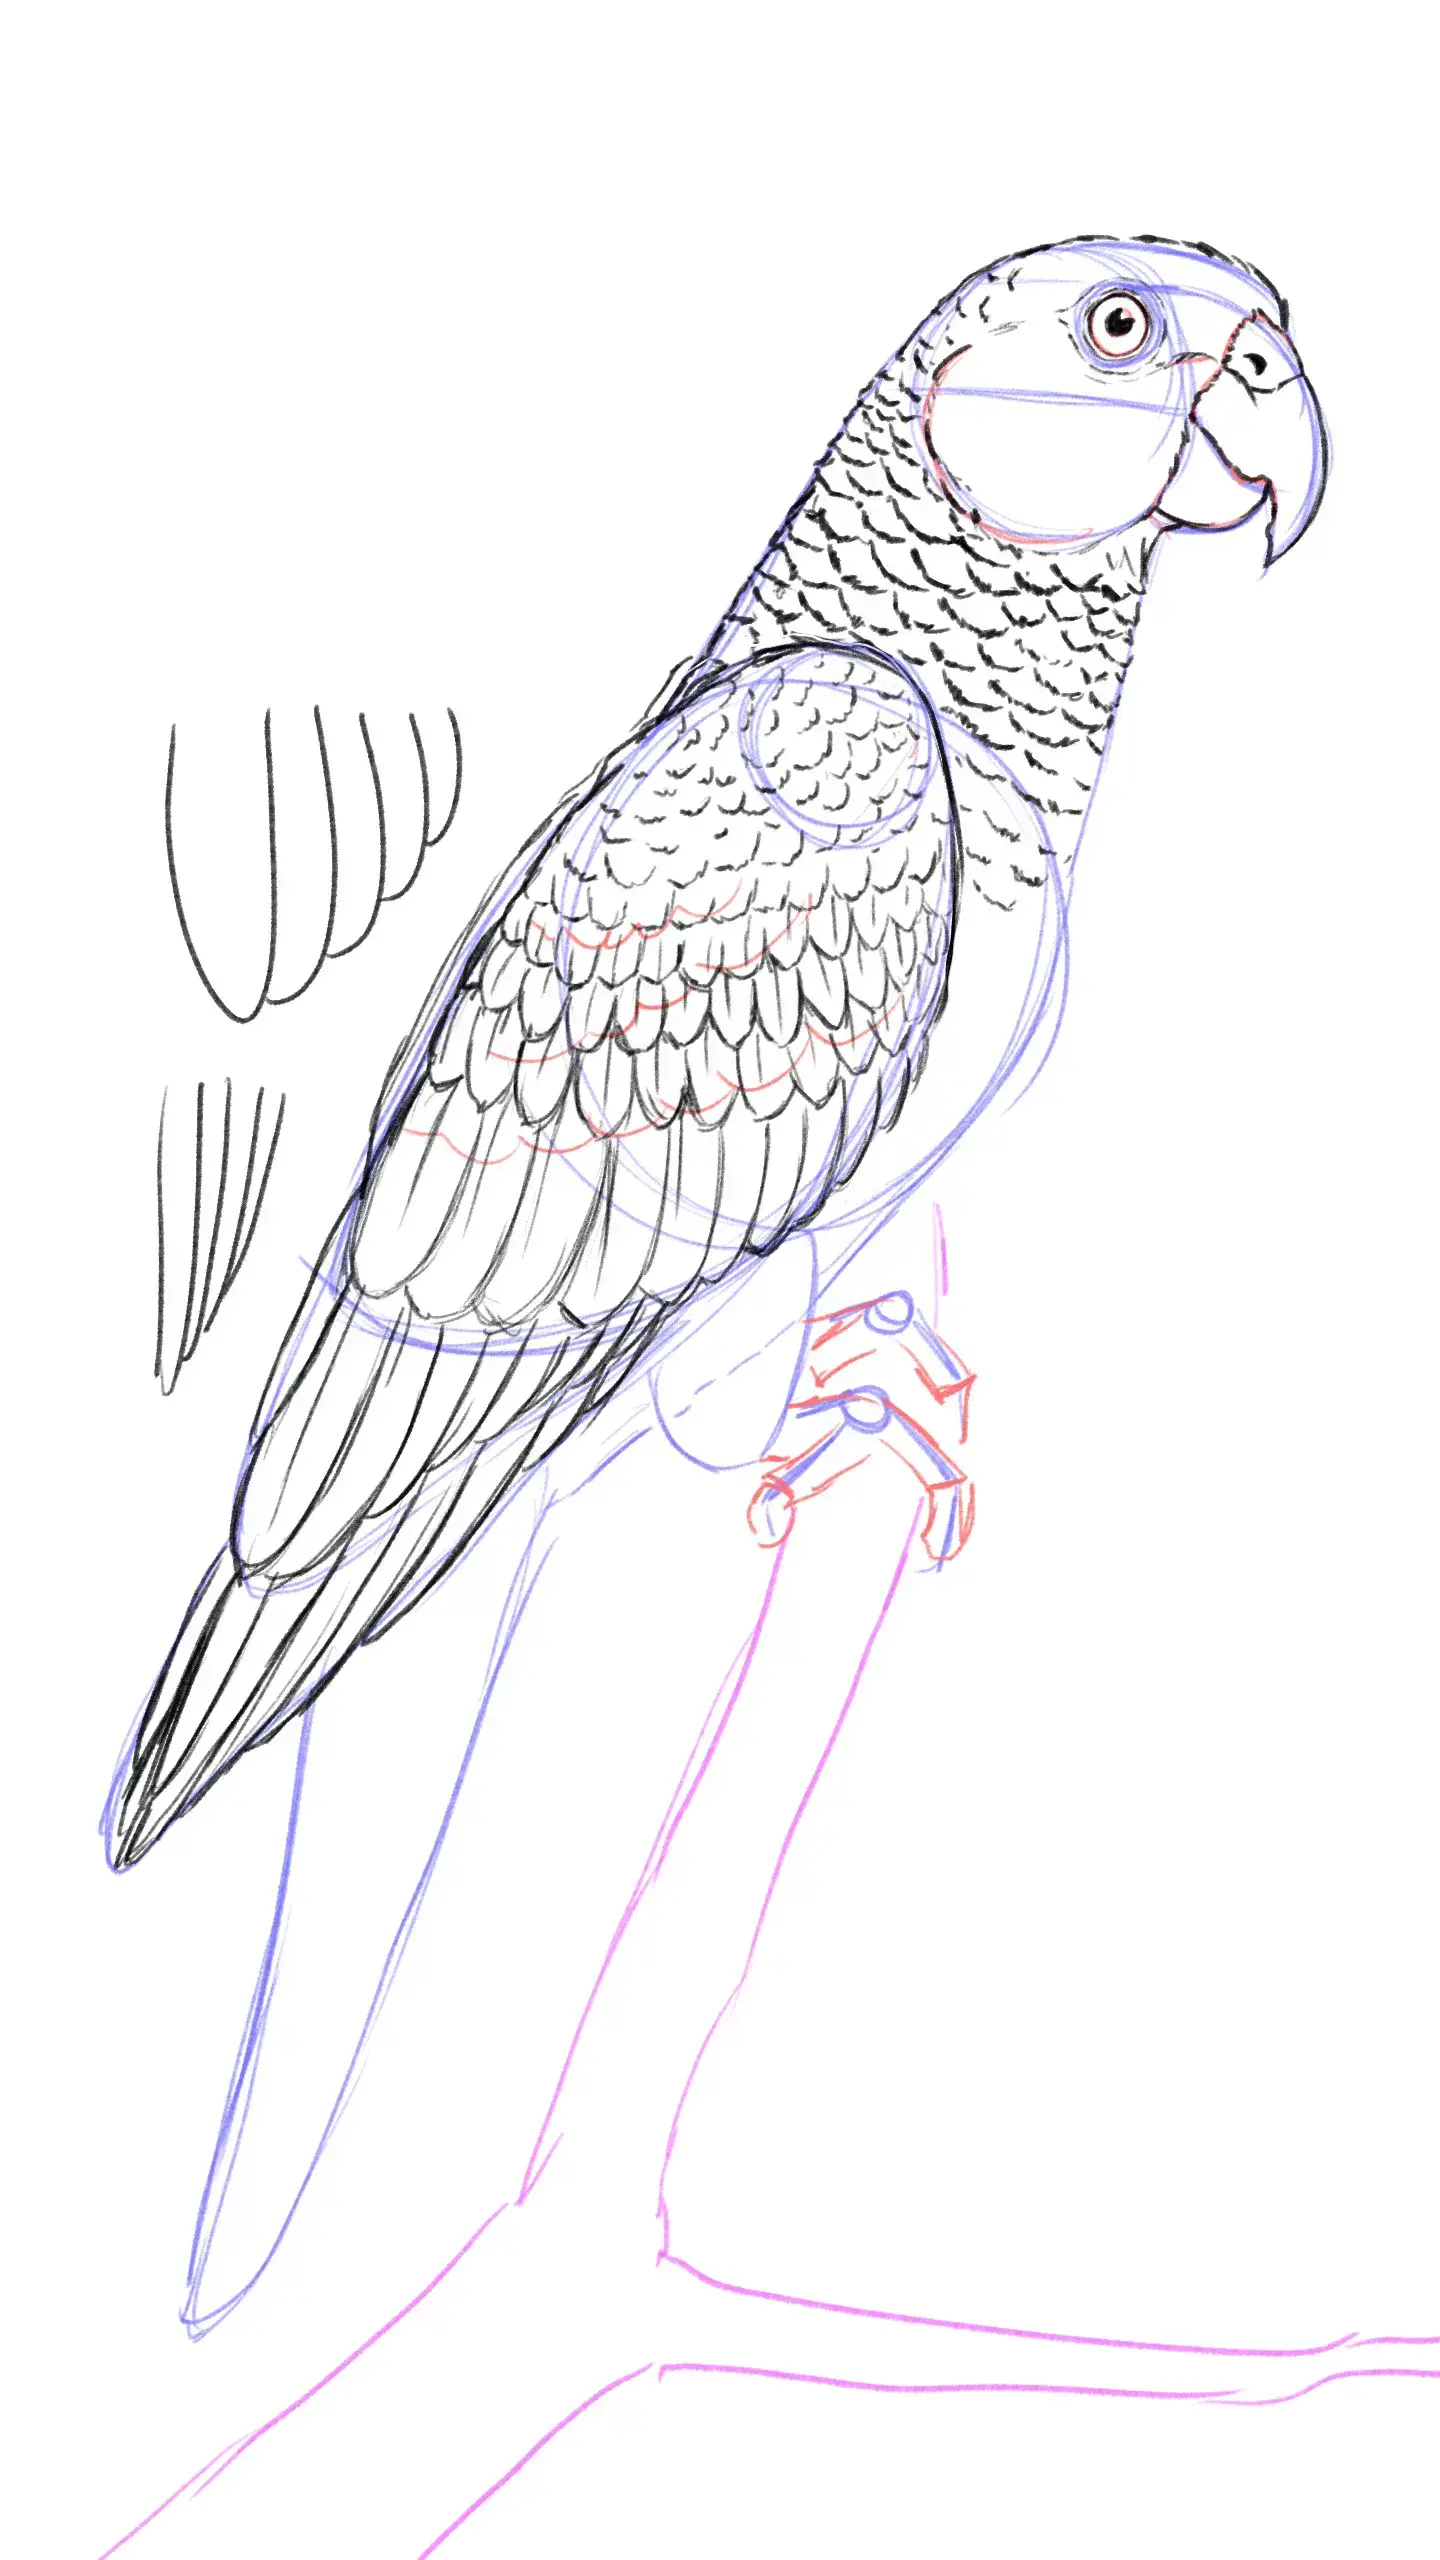
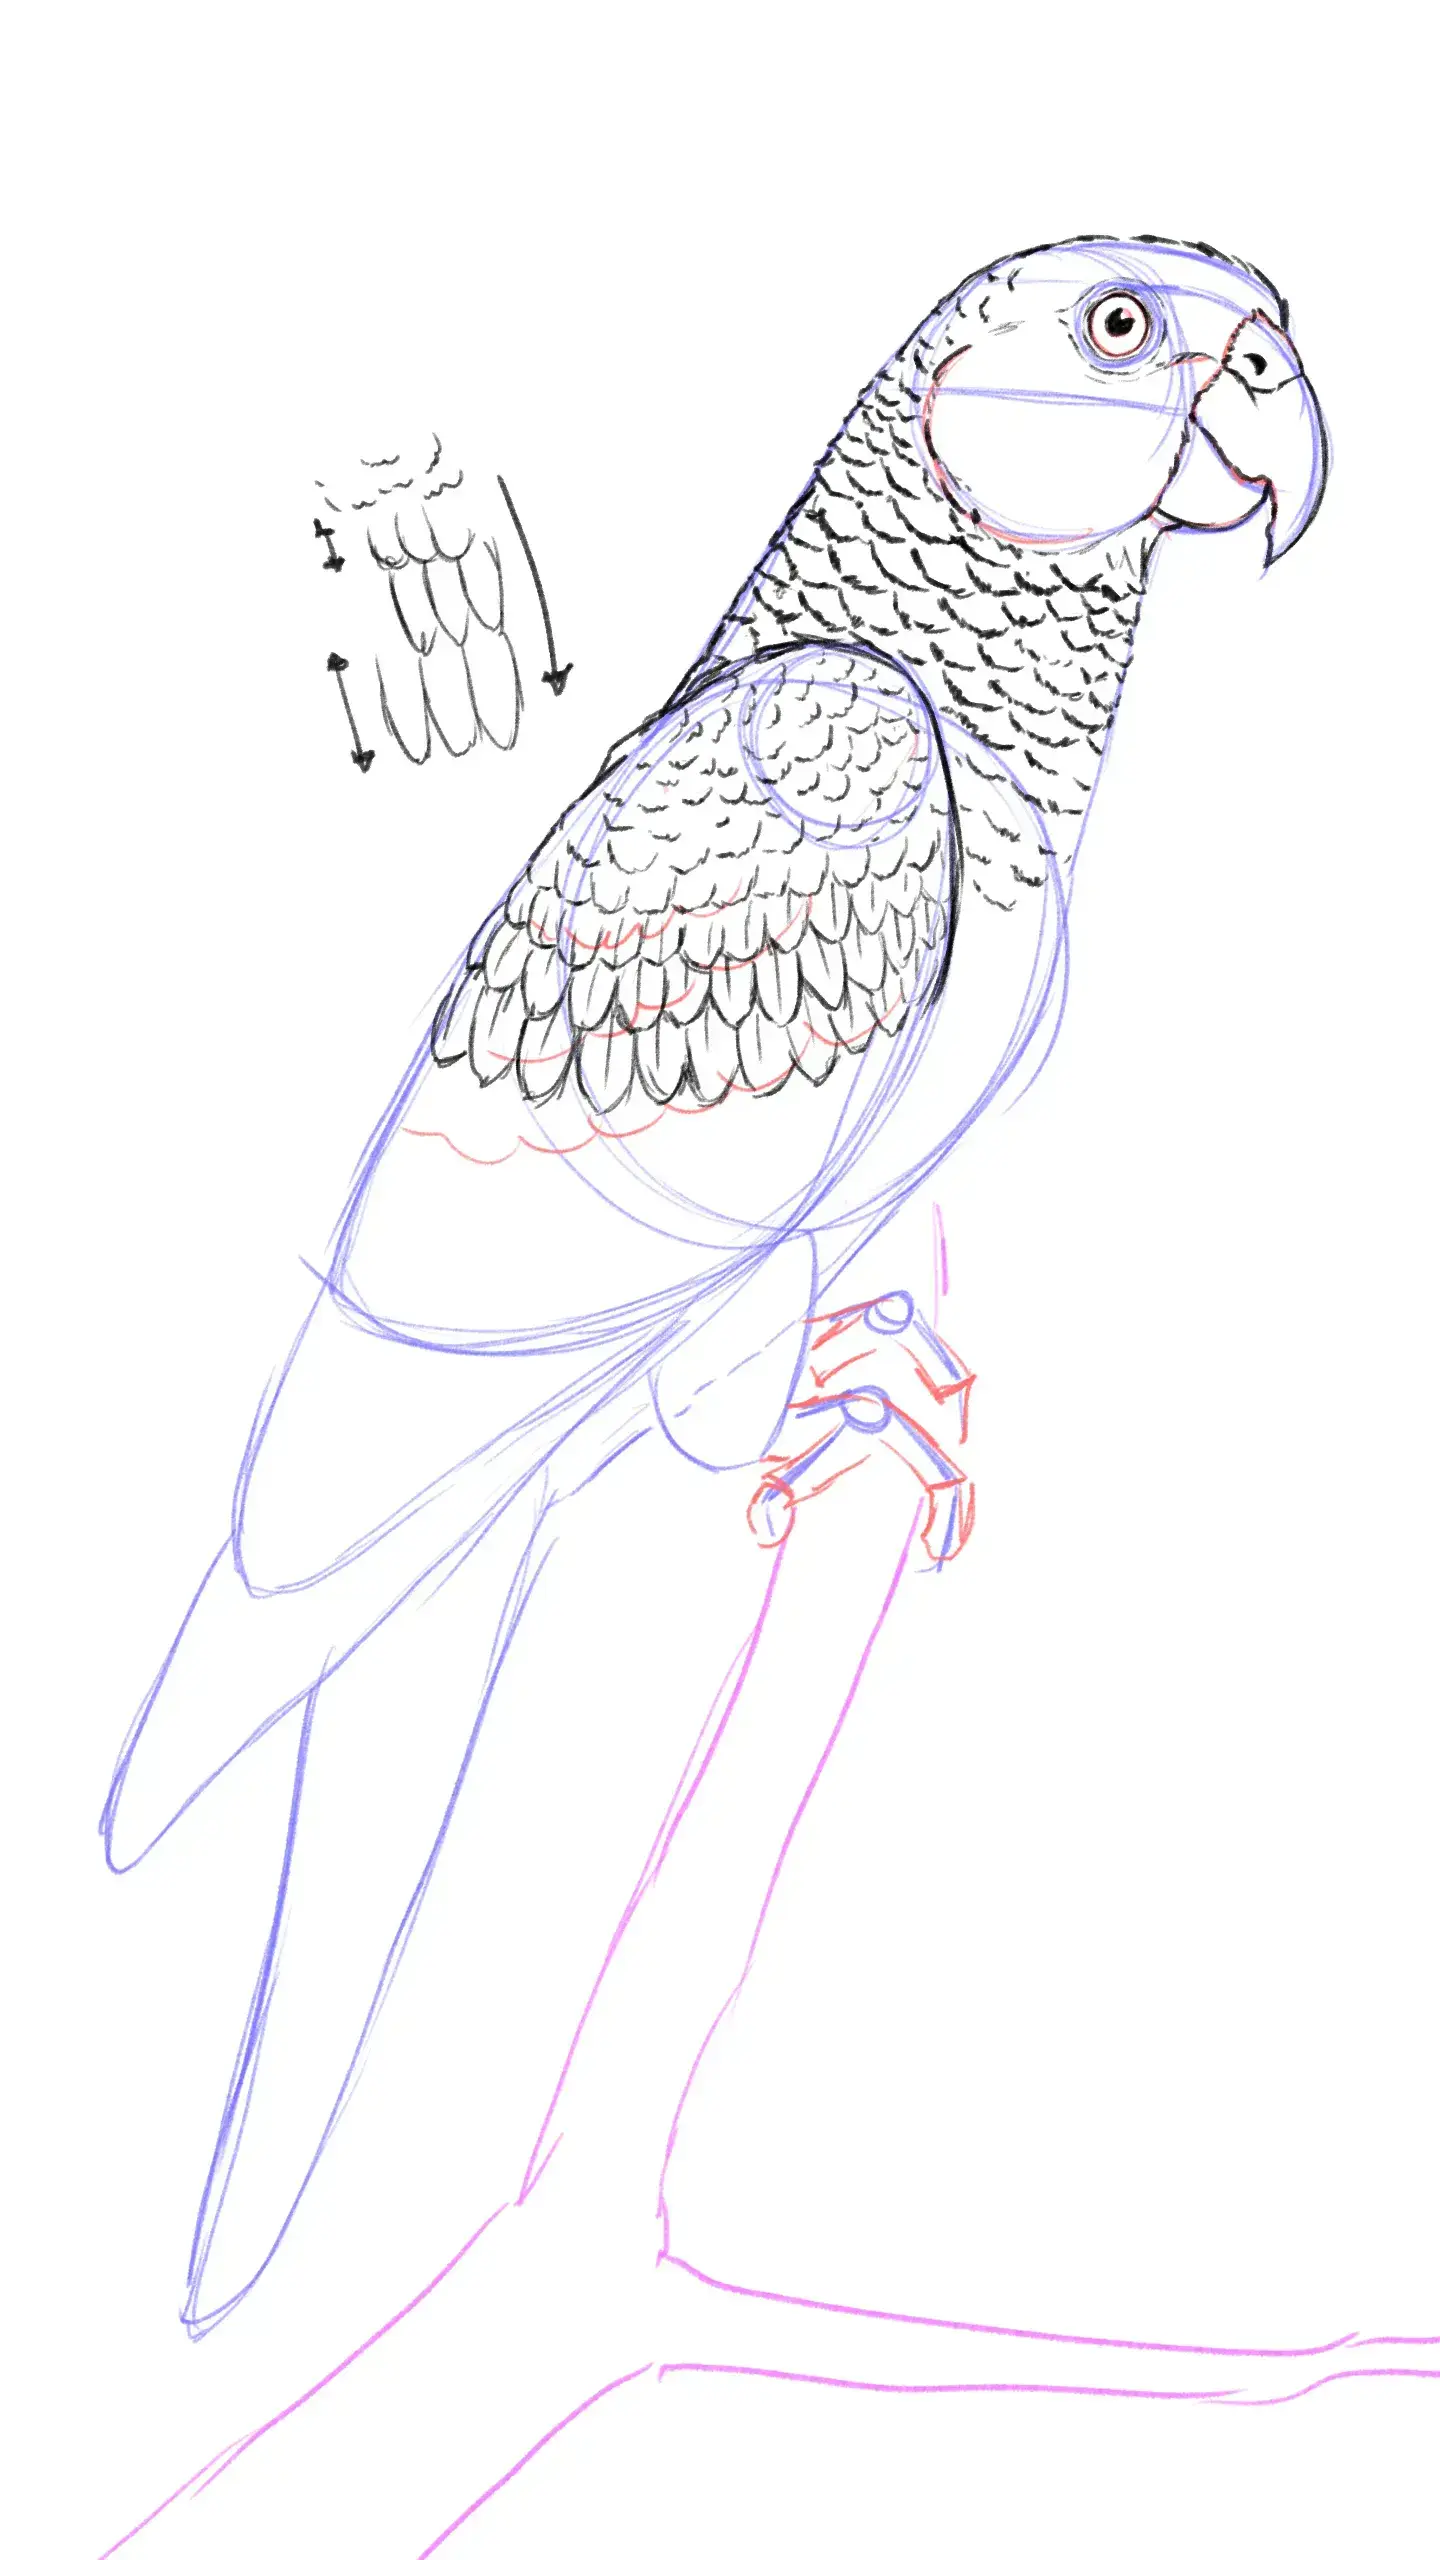
We will now add texture to the chest plumage, taking into account what we said about the velvety texture and the wavy pattern. Also, add plumage to the thighs of the legs, using a fur-like stroke.
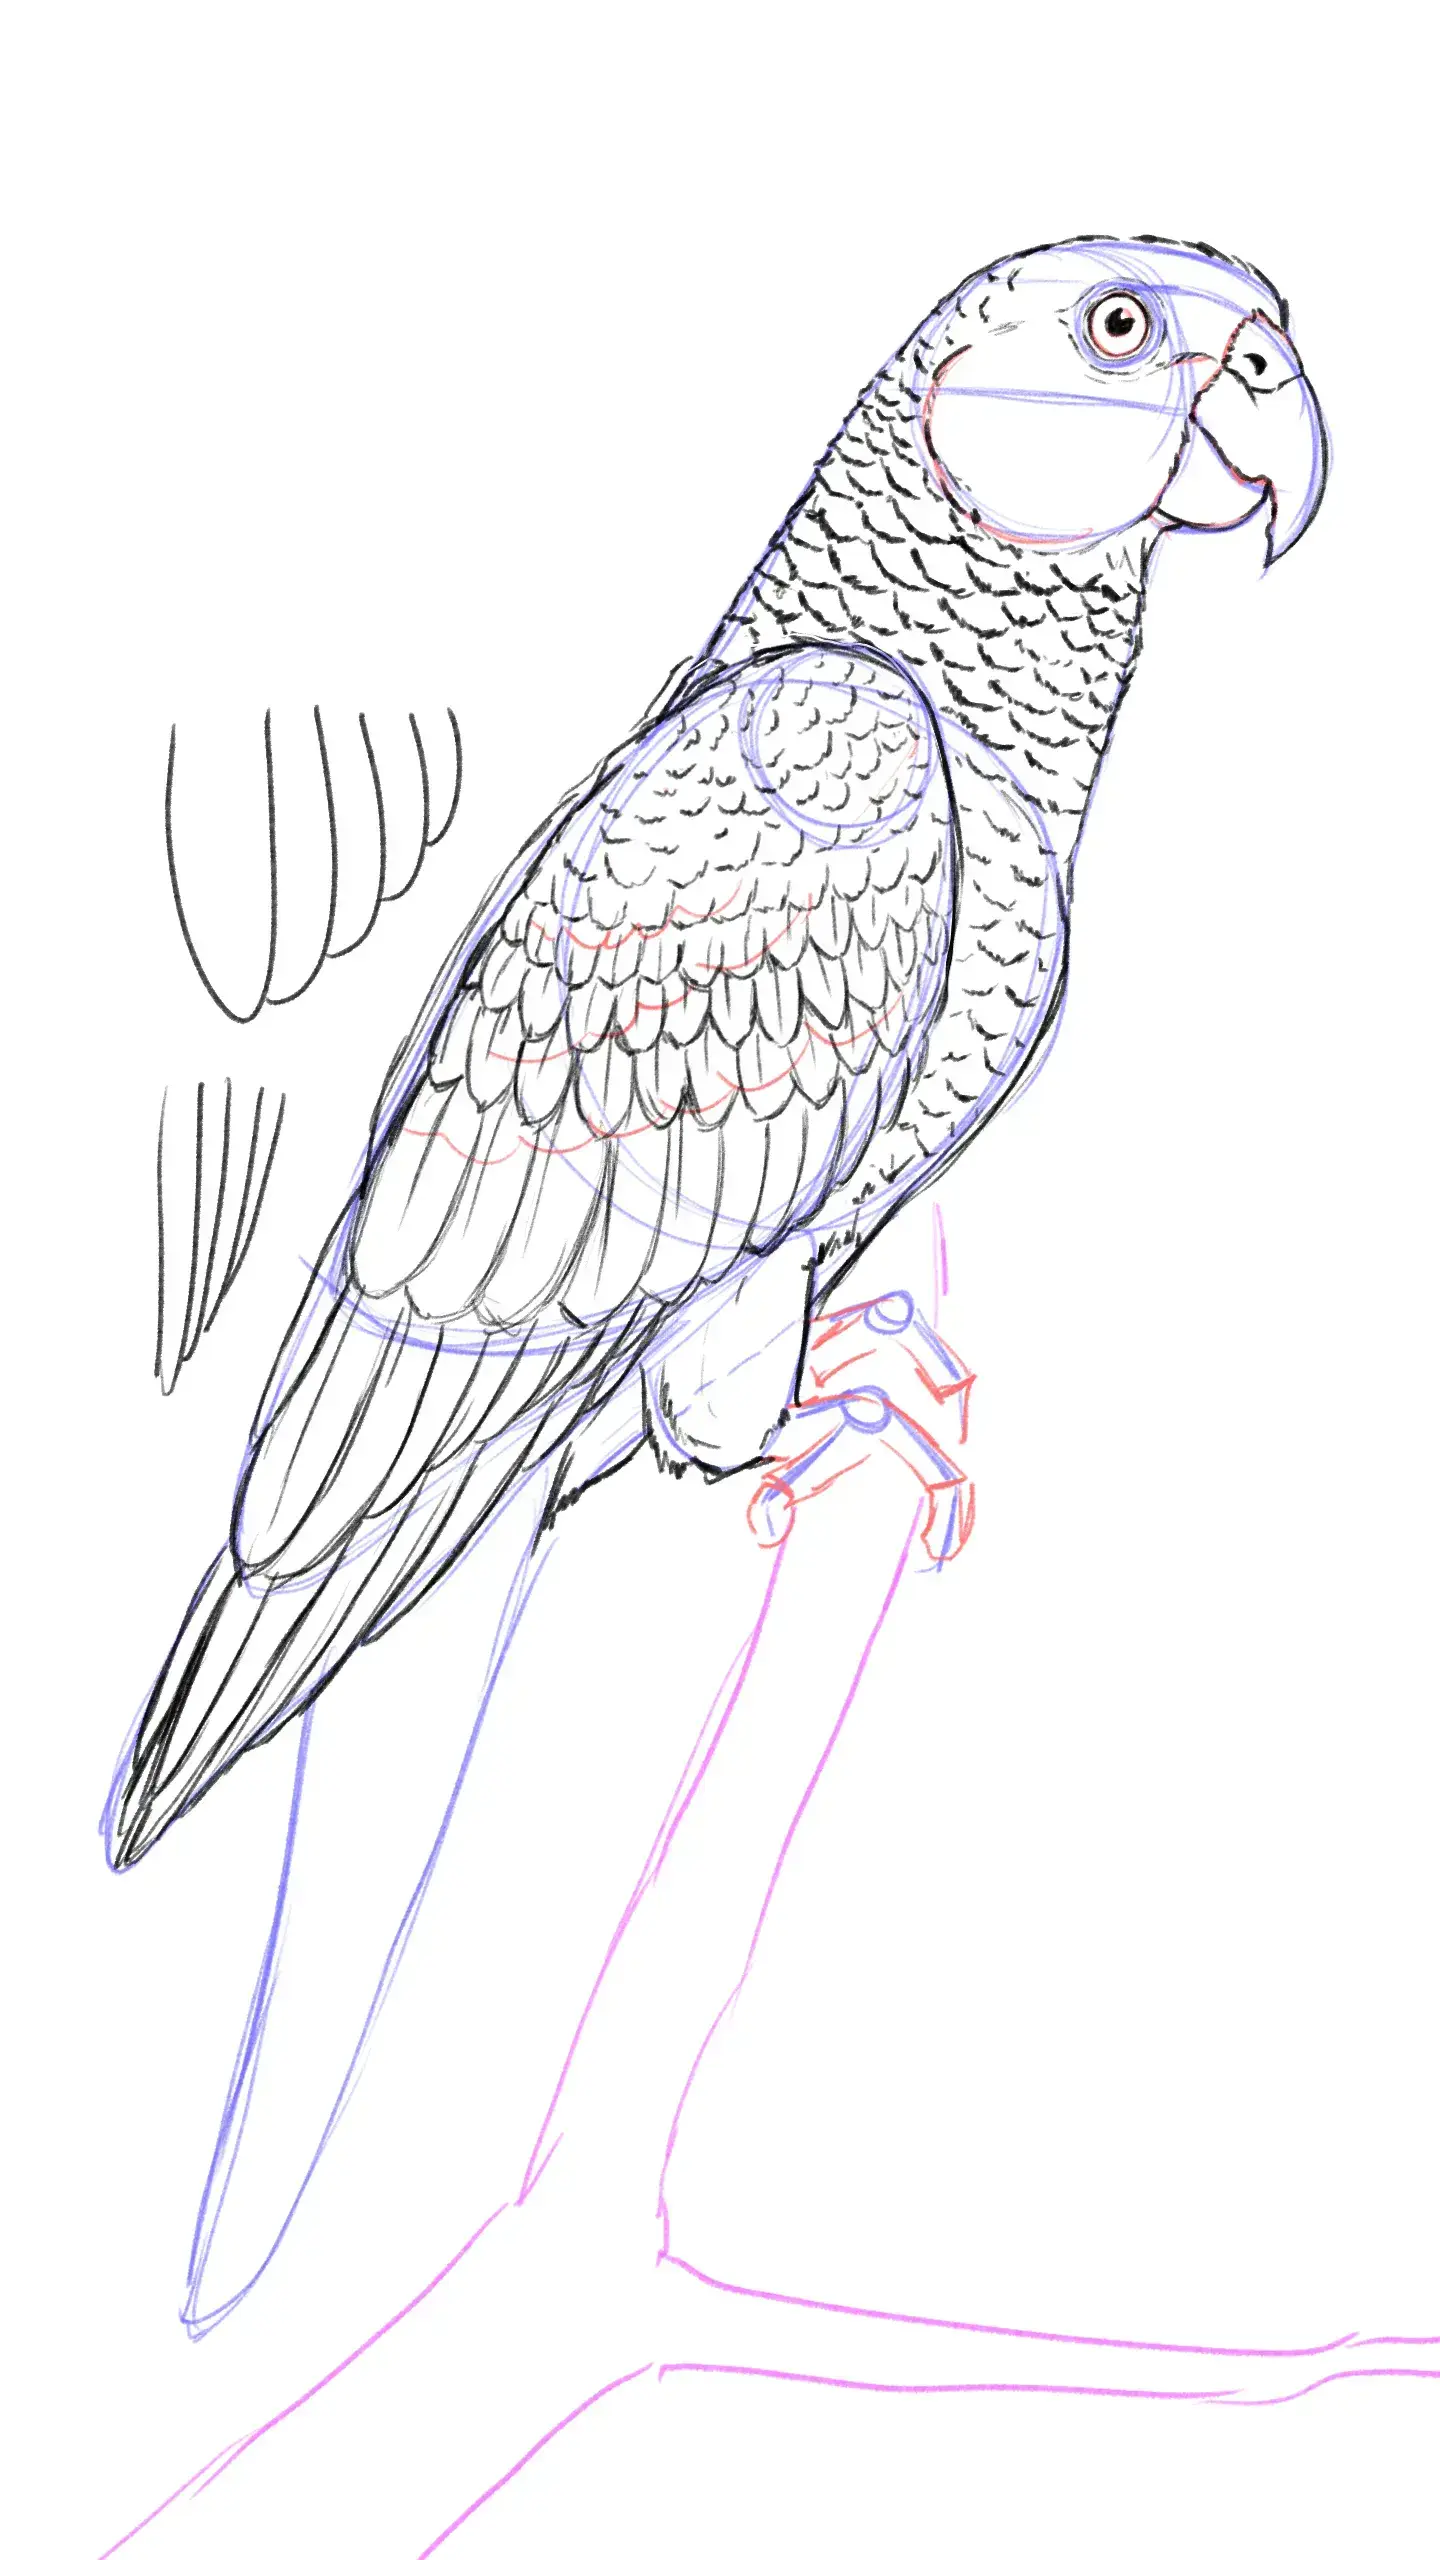
By now, you will have already mastered the texture of feathers and how to use lines to achieve it. So, here's a challenge: add texture to the face with small feathers that follow the shapes on the head, highlighting the plump cheeks and the protrusion of the forehead.
Add color to the drawing
We have a very nice line drawing, which is rigorously detailed. I know you have devoted a good amount of time to it. So, take a short break, then let's continue.
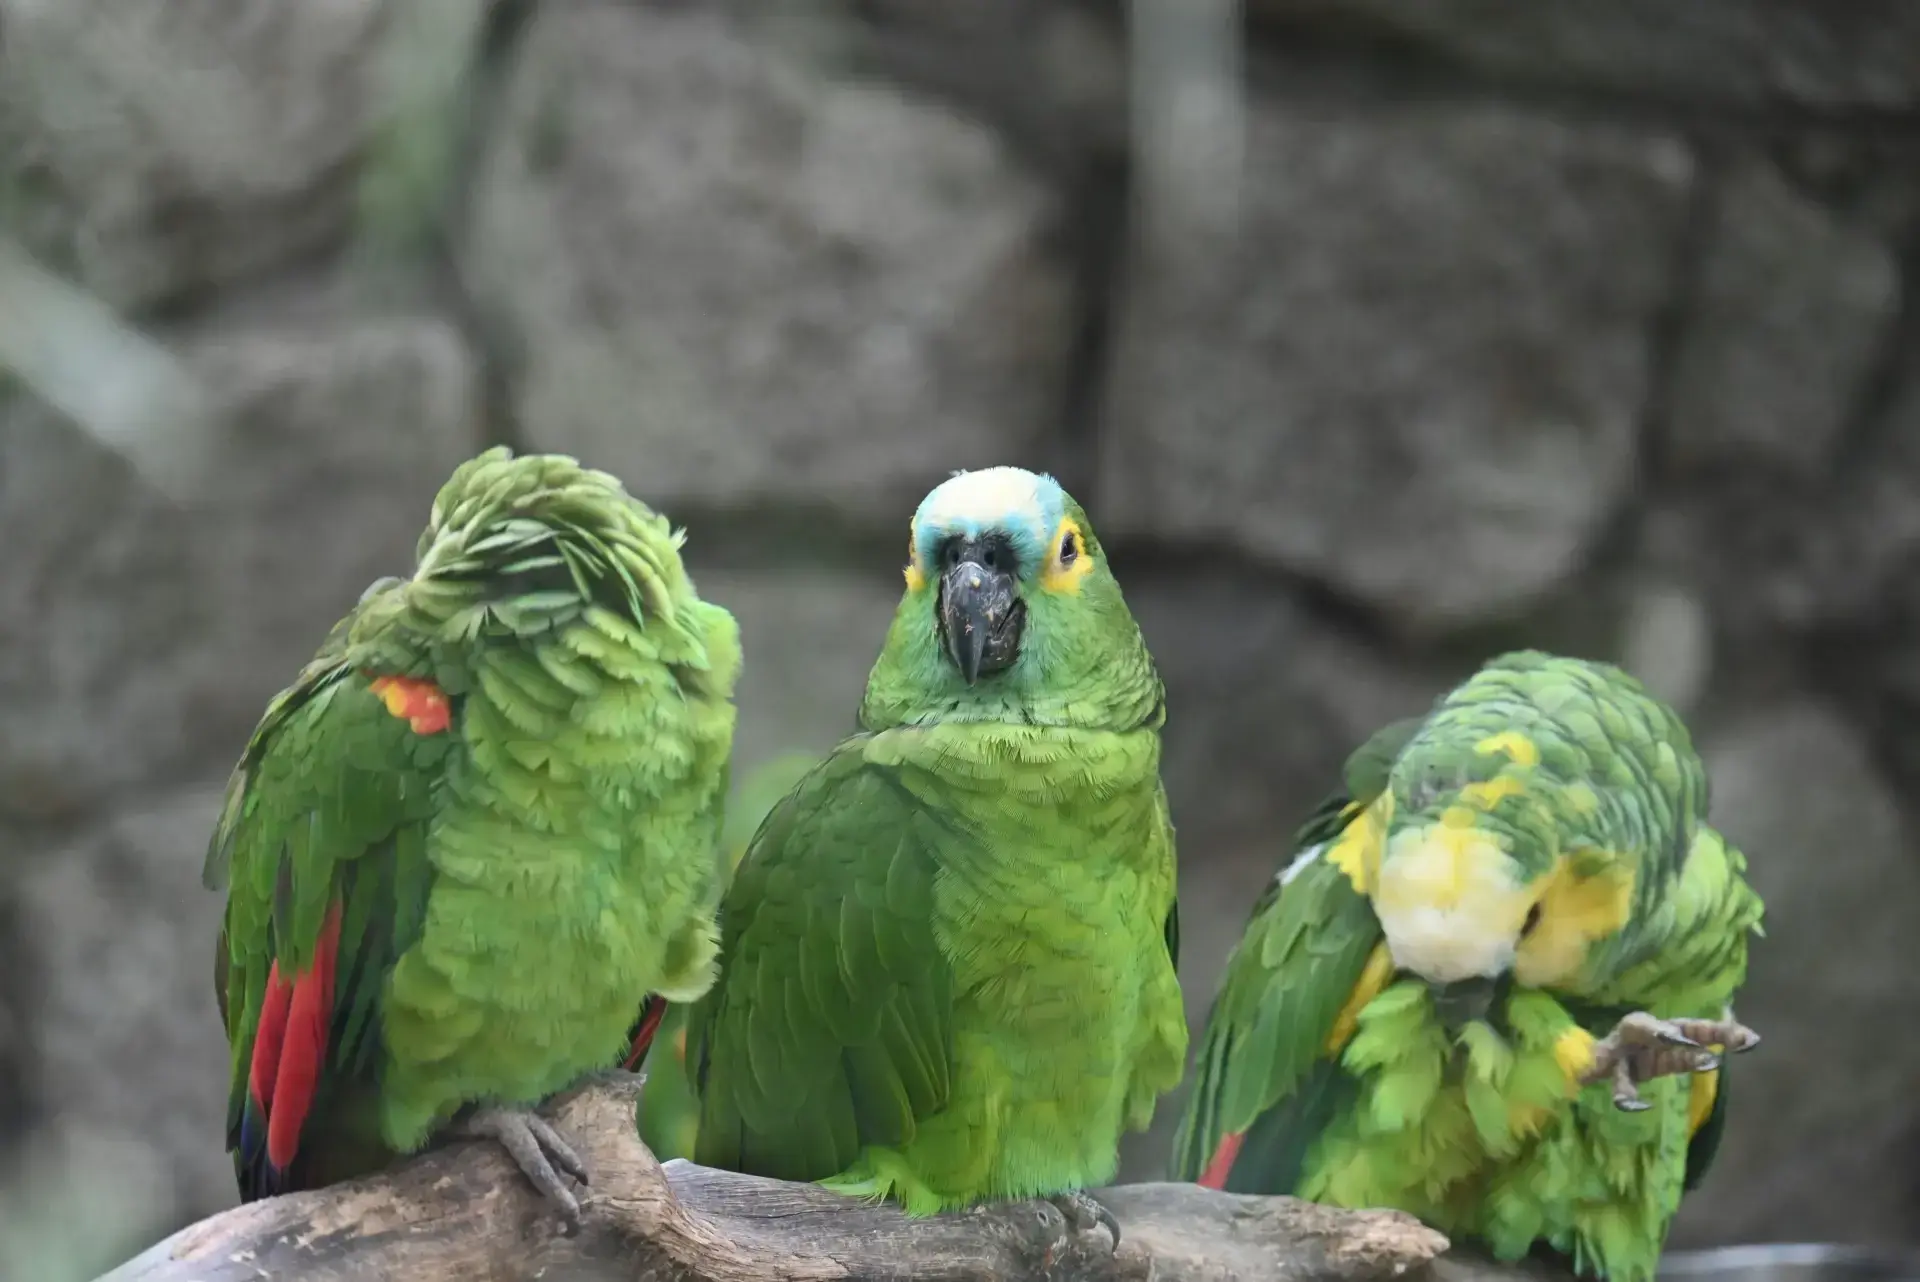
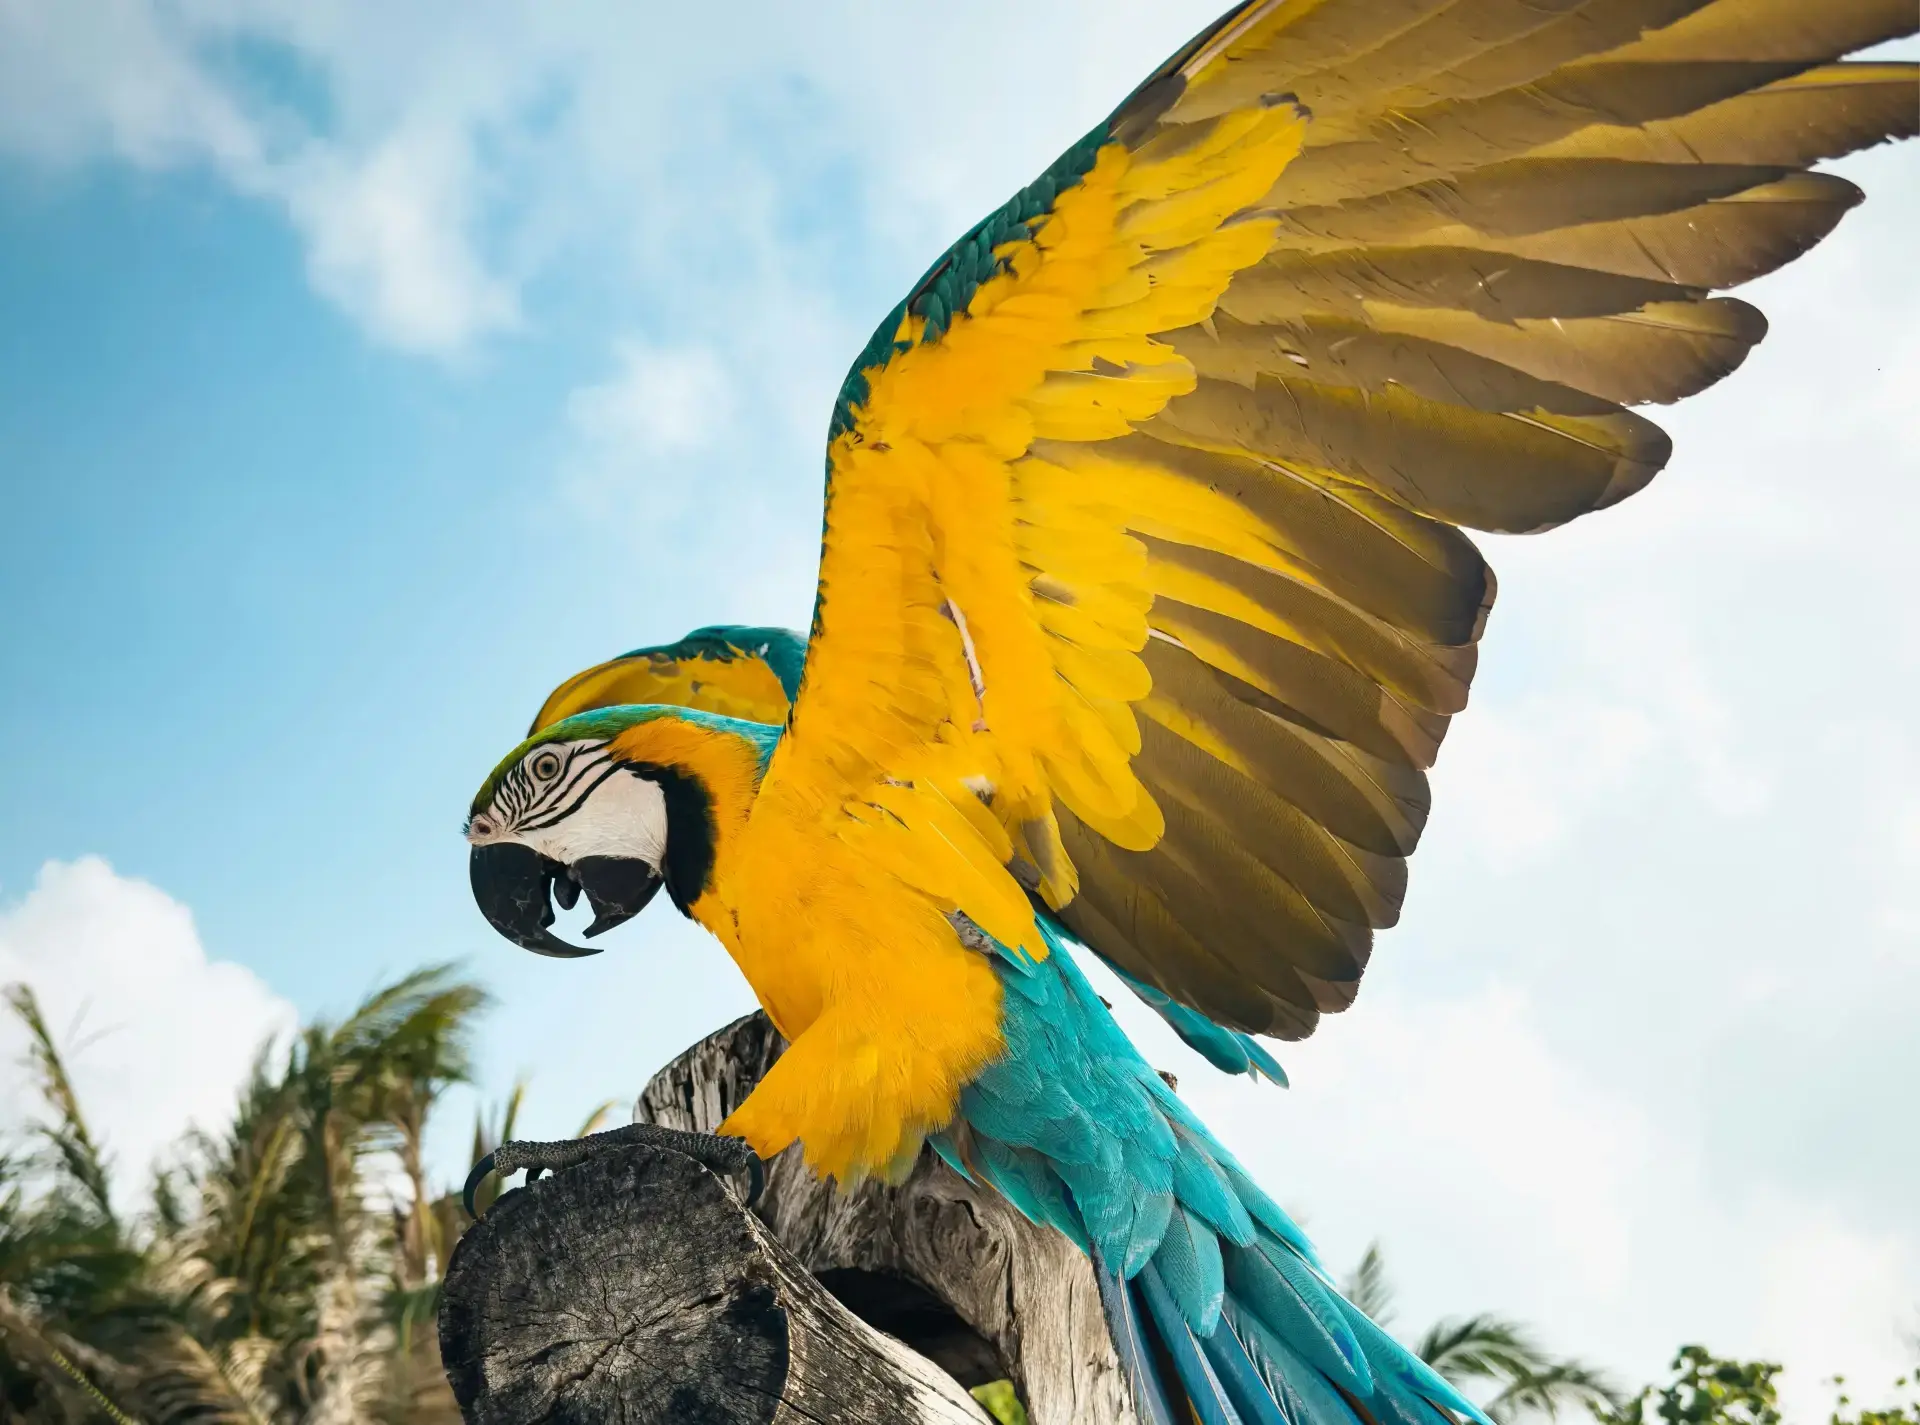
My parrot will have a green base, even though, as you know, there are specimens of different colors and combinations, like the blue macaw.

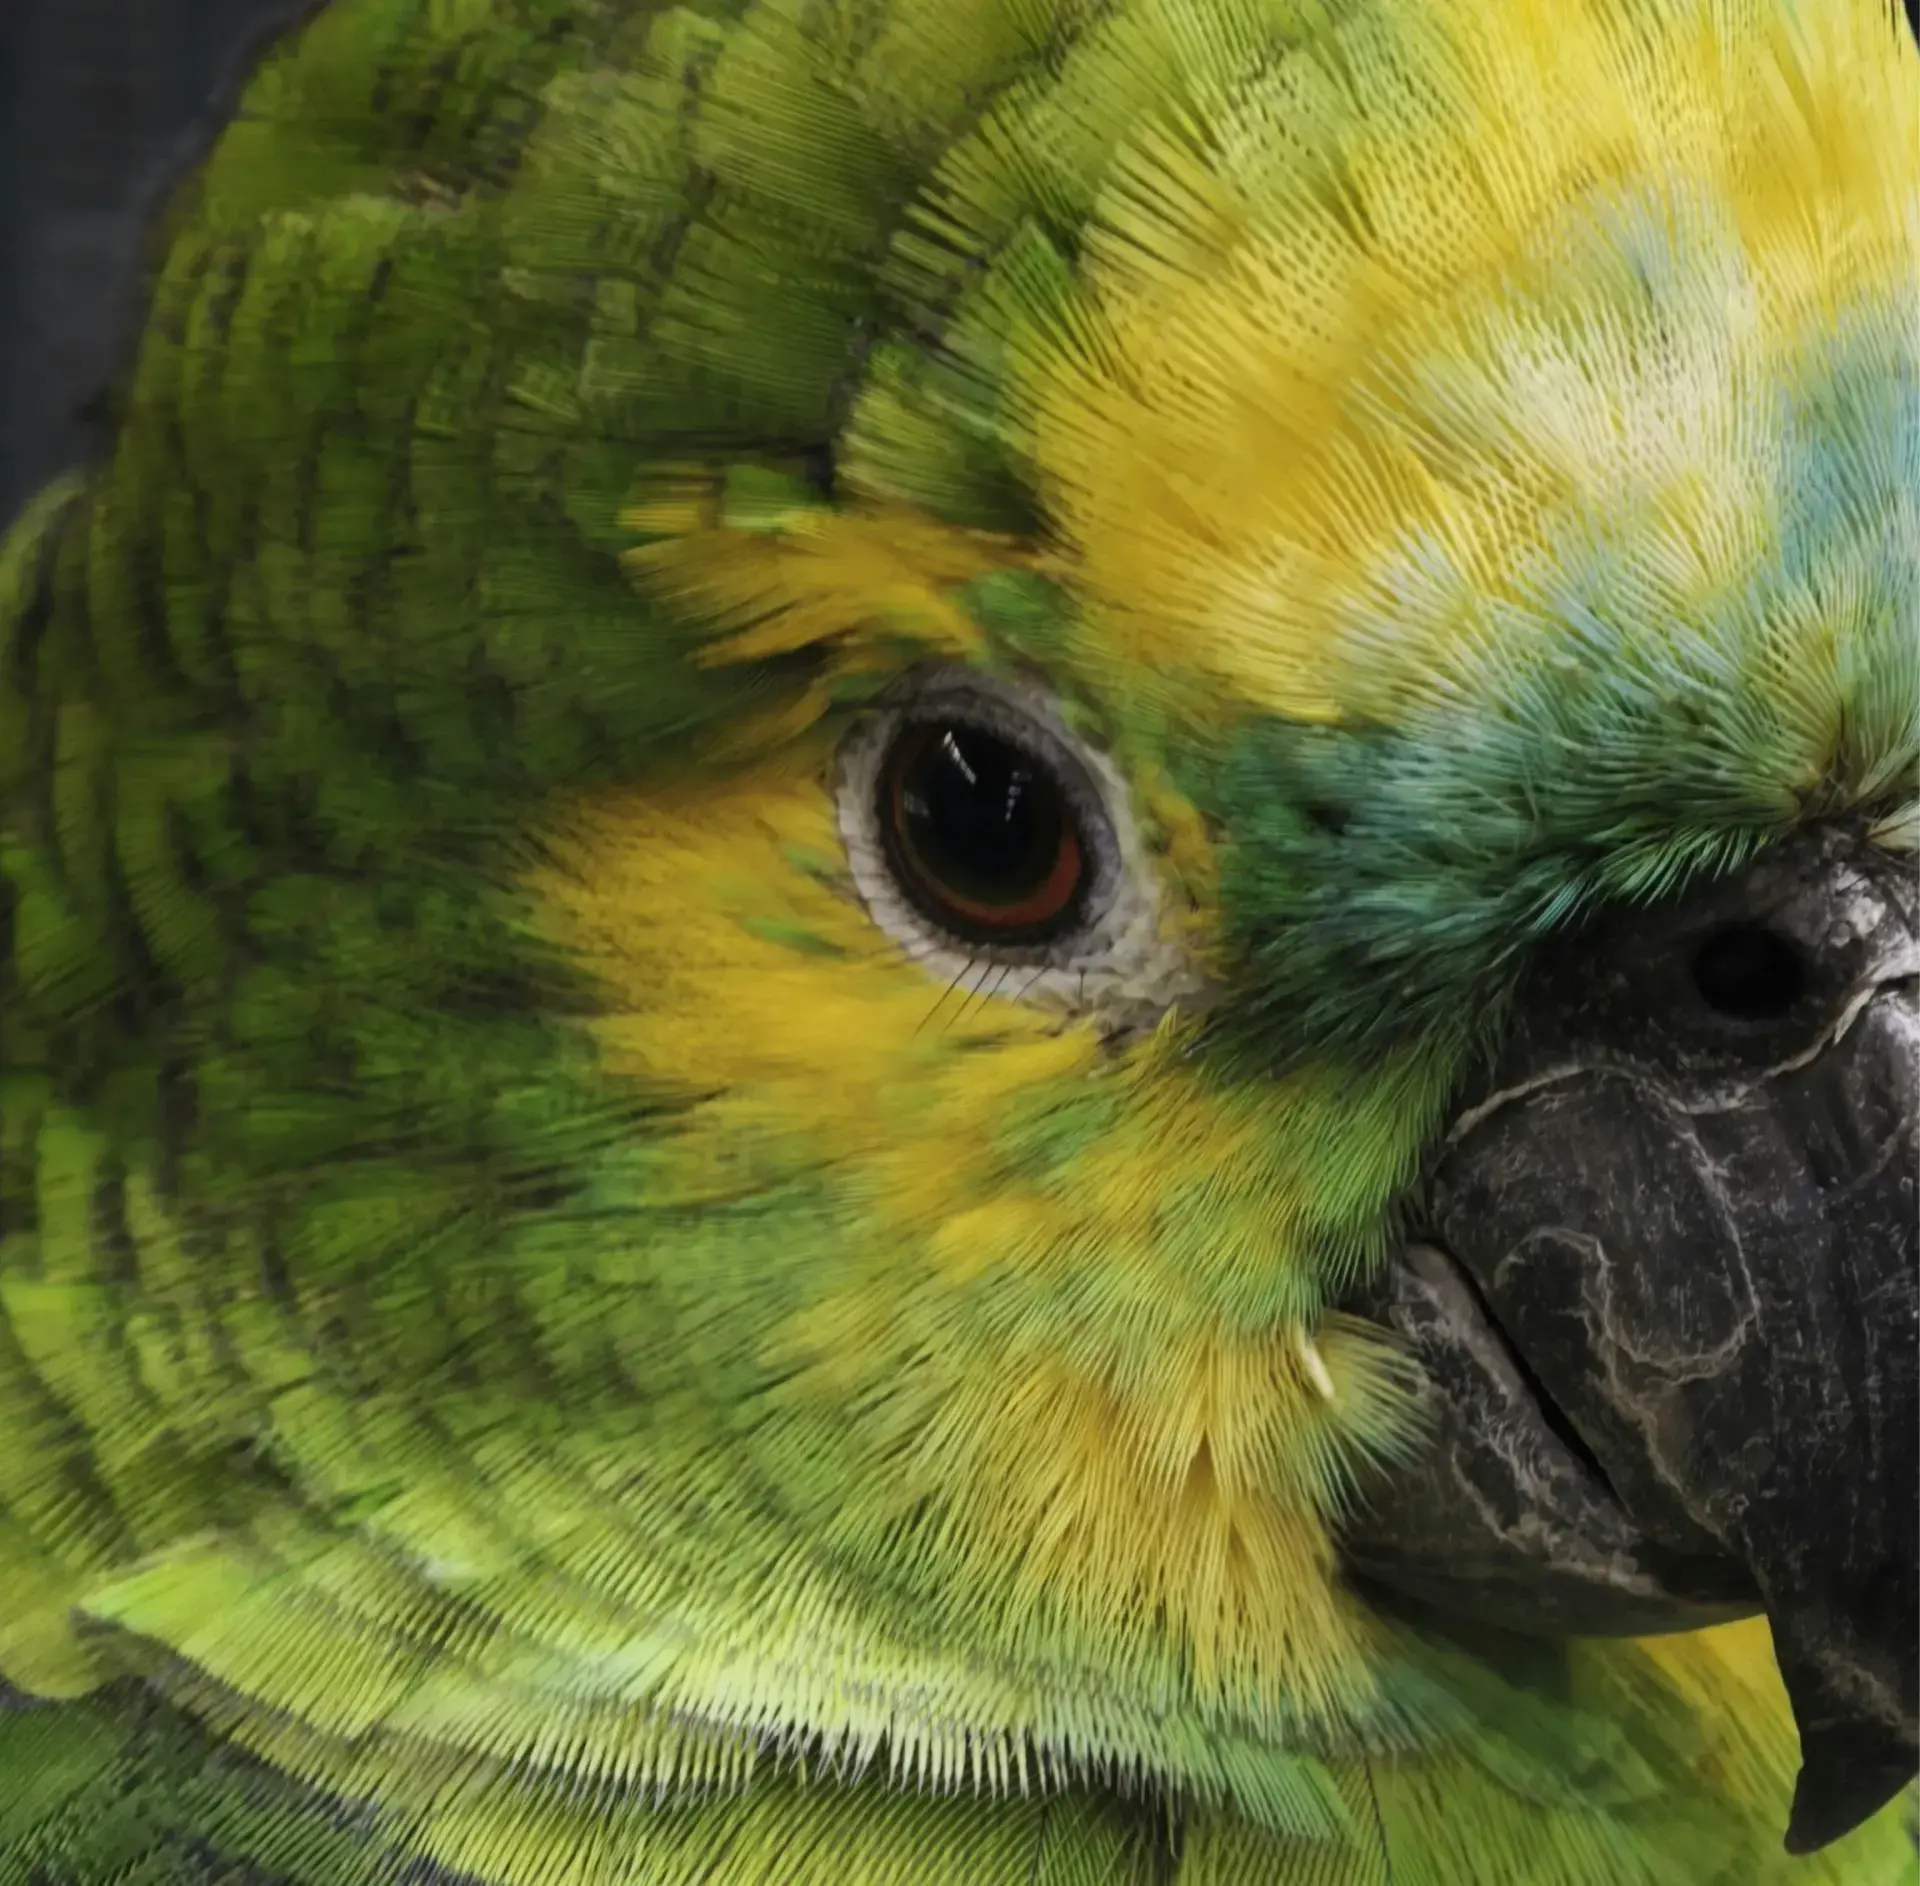
Start by drawing its eye in intense orange, a color that goes very well with the green background. Create a white outline around the eye so that both colors stand out without competing.
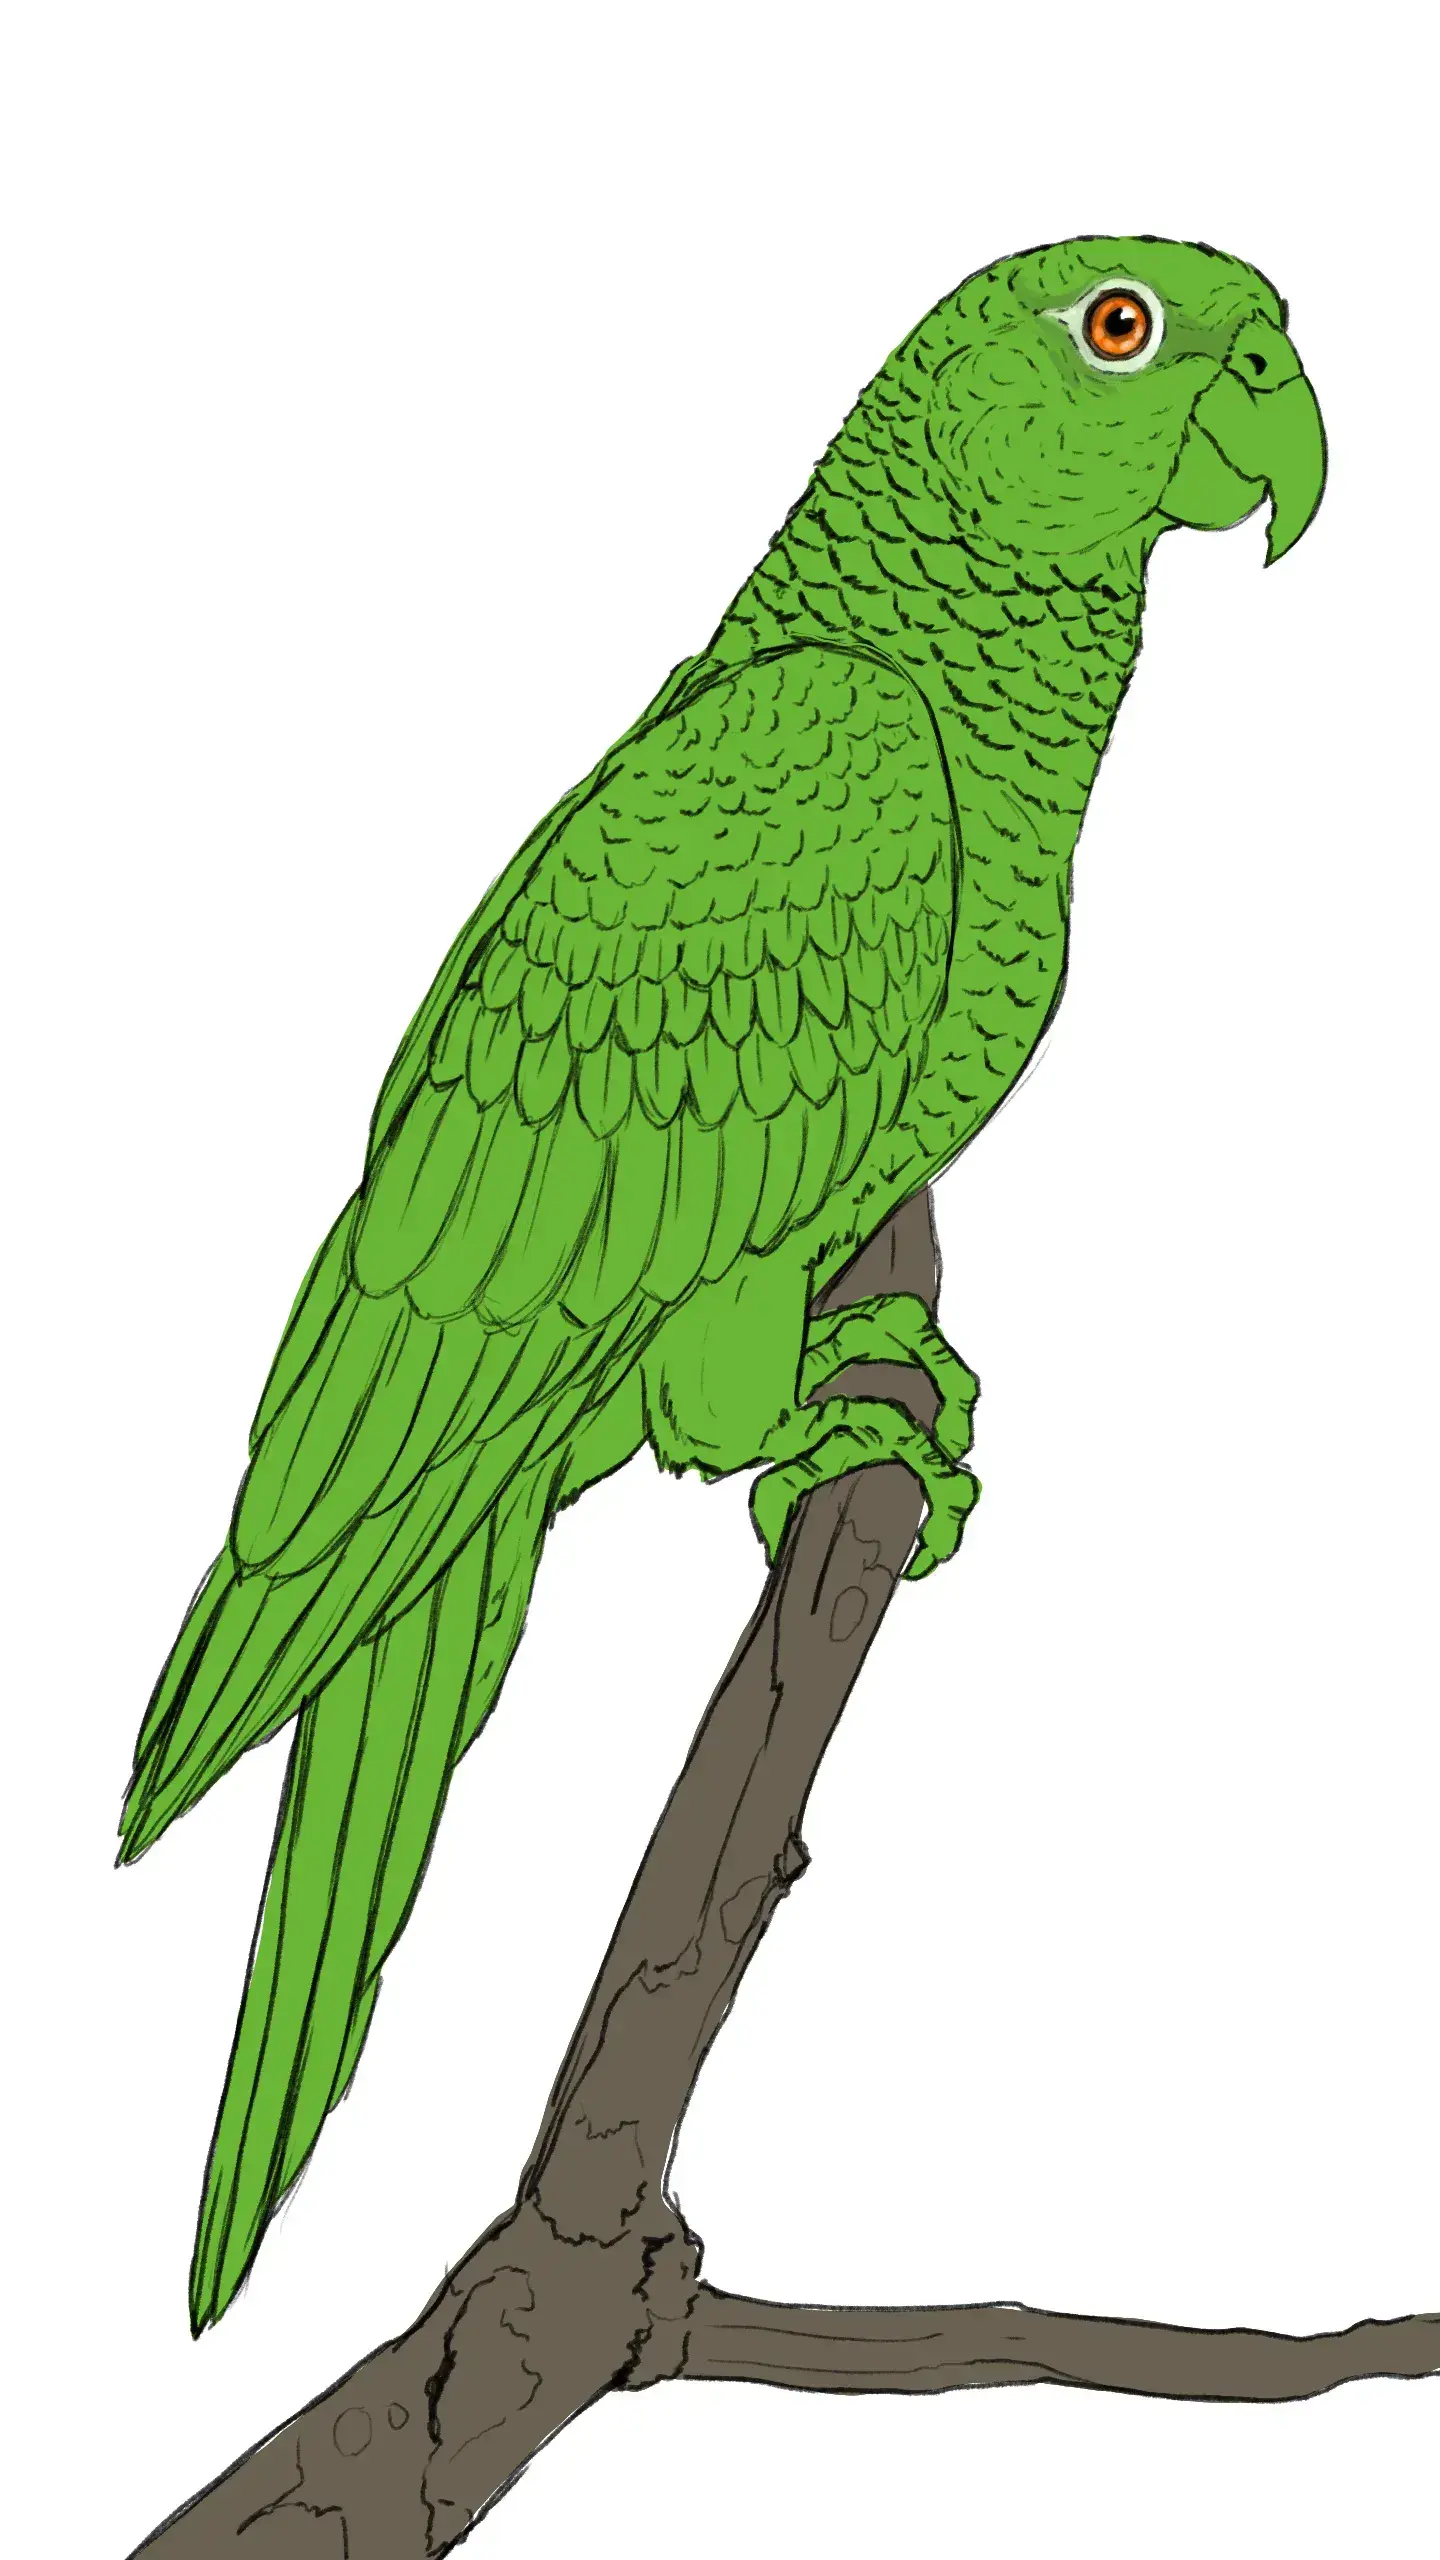
Let's move on to the beak. Even though it may appear black, it actually contains a lot of color. So avoid using pure grays. Instead, use muted tones of yellow, brown, and even blue.
Before adding the shadows, we need to introduce some color variation to our model. Therefore, take different shades of green: some closer to yellow, others more bluish, some intense and others more dull. Mix them in an almost random way to create a mass of vibrant shades.

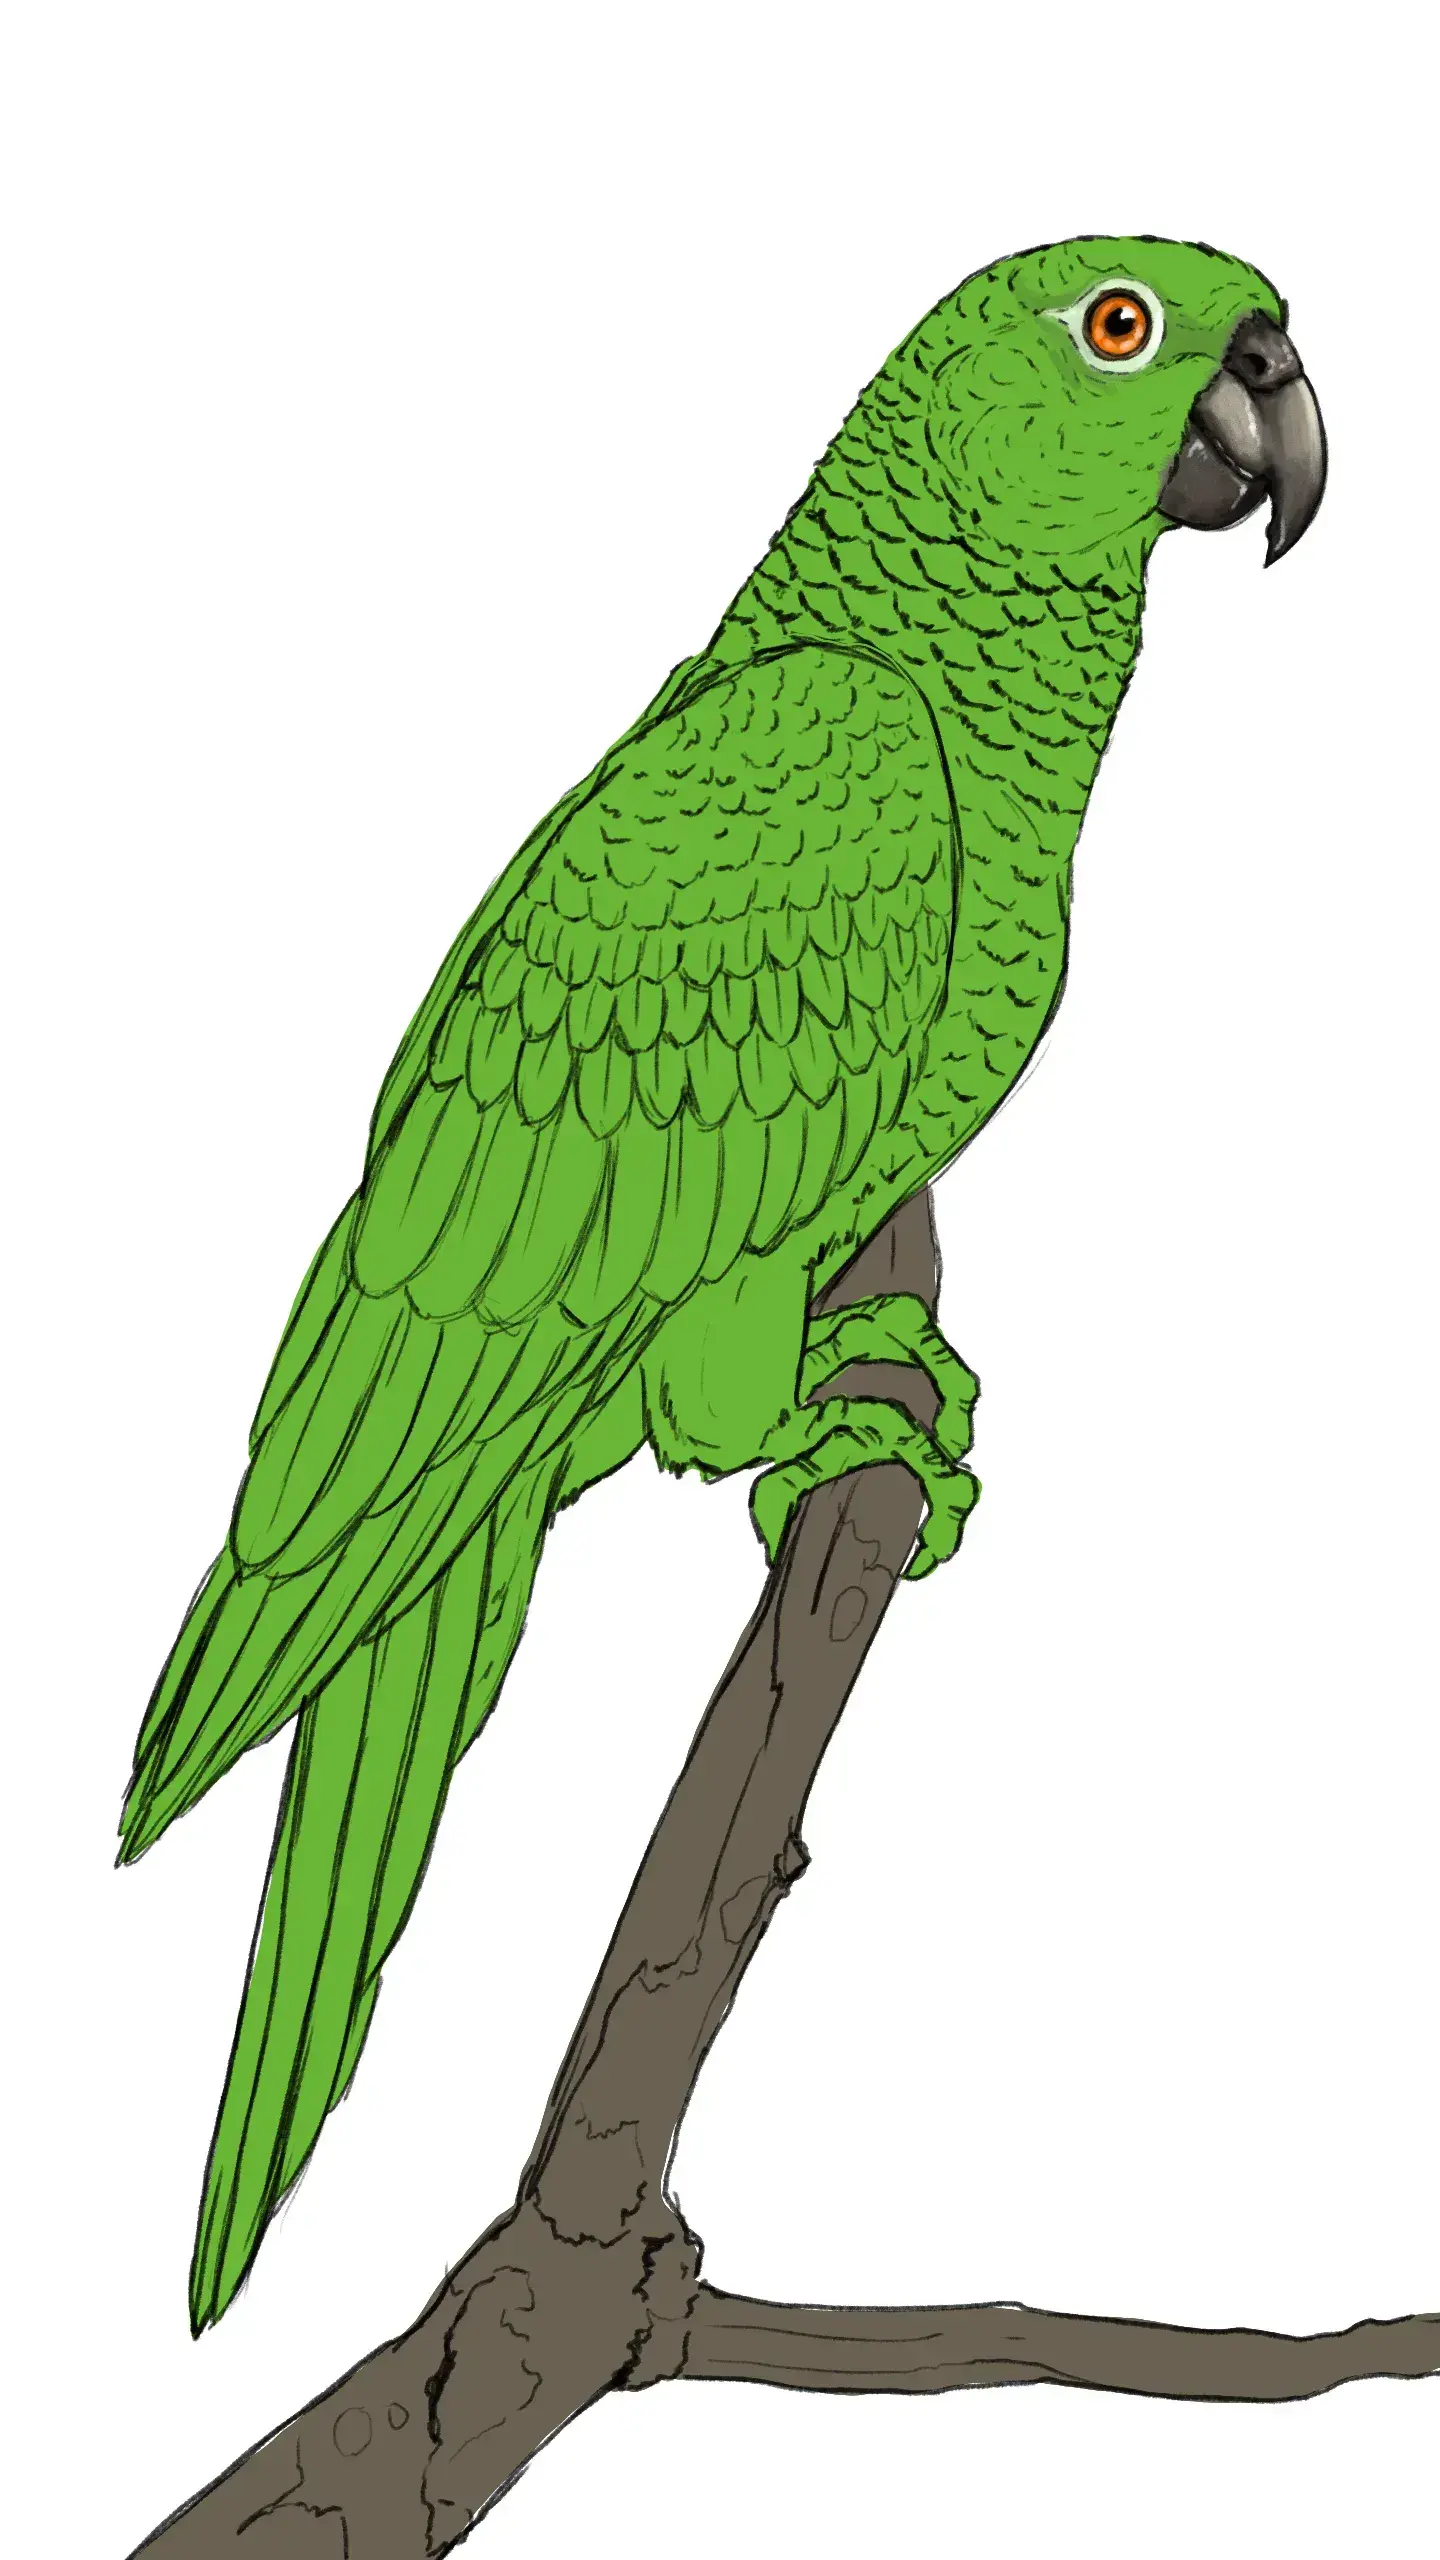
Add shadows
Before you start, put aside the black. I recommend using complementary tones to create dark but saturated colors. In this case, take a palette of reds, or perhaps oranges and browns, and apply them in layers or color combinations to be placed between the feathers and in the contact areas.
I'm sure you've noticed that we have already painted the legs in grayish tones, but you can imagine that they are actually dull shades of yellow and green.
We now need to create contrast. For this, we will need to use bright versions of the color, i.e., shades of yellow. With these, we will highlight the outlines of the feathers on the wings as well as the inner parts of the feathers on the neck and chest. In this case, we will use straight lines arranged like a fan, in order to create the texture we previously analyzed.

Add background to the parrot drawing
It is now time to paint a setting. If you wish, here are several recommendations to keep in mind: remember that our model is green, a strategic choice to hide in trees.
Use contrasts to make it stand out, for example by using the sky to define its silhouette, or by using leaves that are much darker. You can also blur this background to give depth of field and achieve a photographic style.

That's all for today. I hope, as always, that this tutorial has been enriching and filled with tips that you can apply to this specimen and other similar models.
Remember that before you start any drawing, it is necessary to analyze in detail the characteristics specific to each species. Now, it’s your turn to observe and draw!
Discussion
No comments yet.